

Halloween Cherry Hand Pies — Easy Mini Cherry Pie Dessert
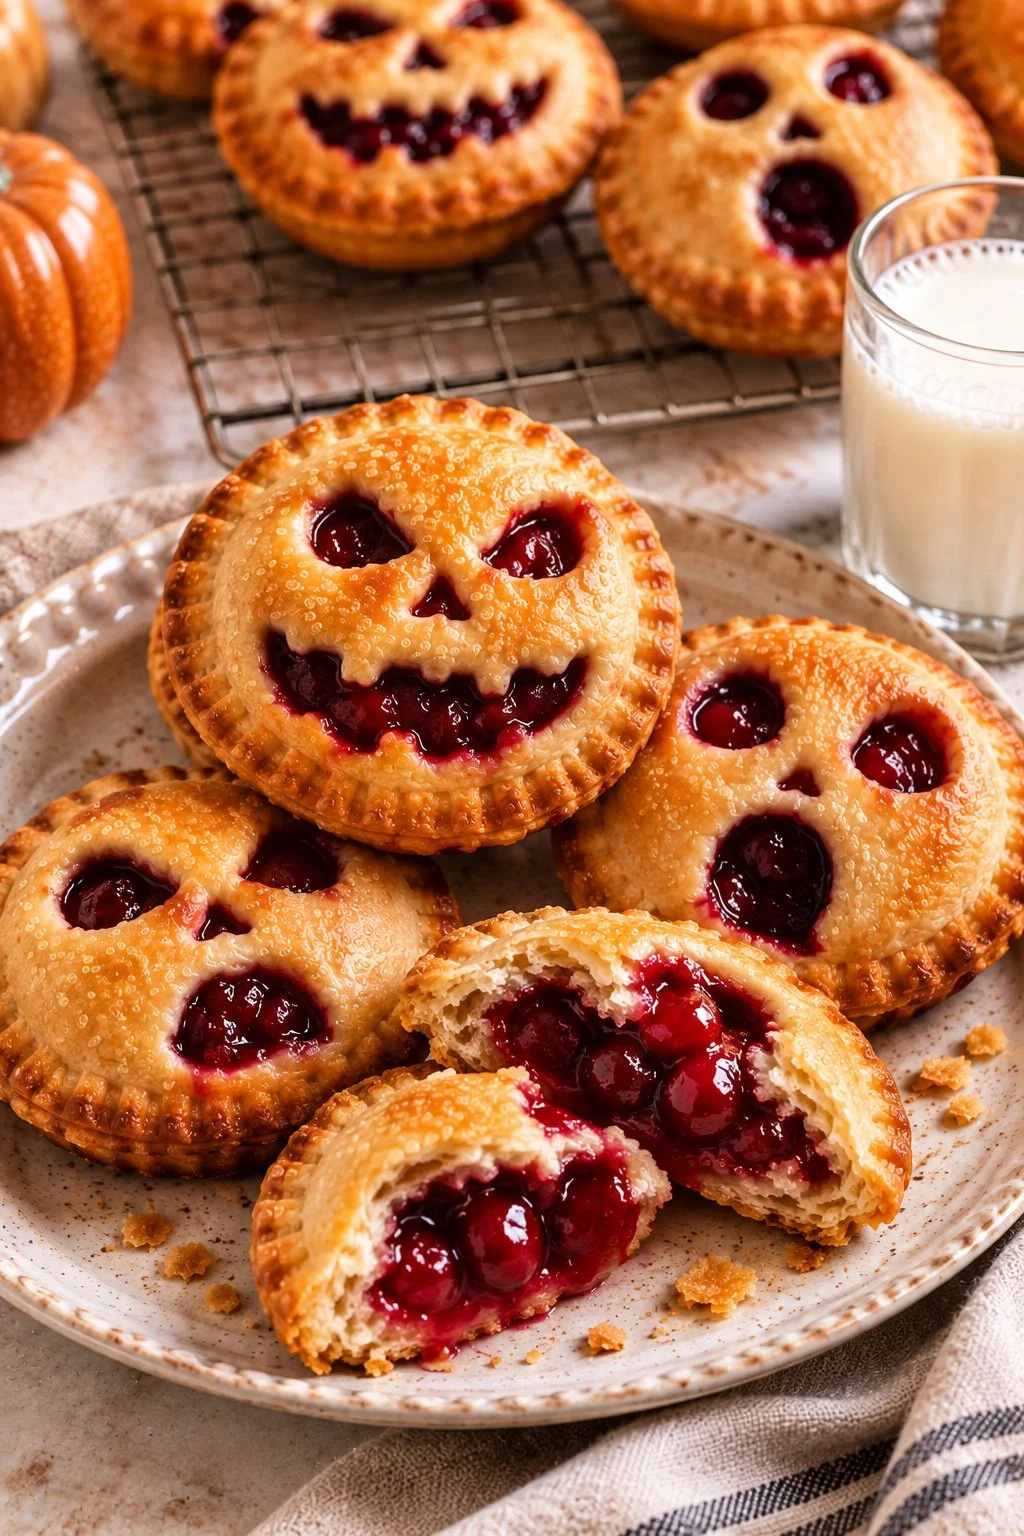
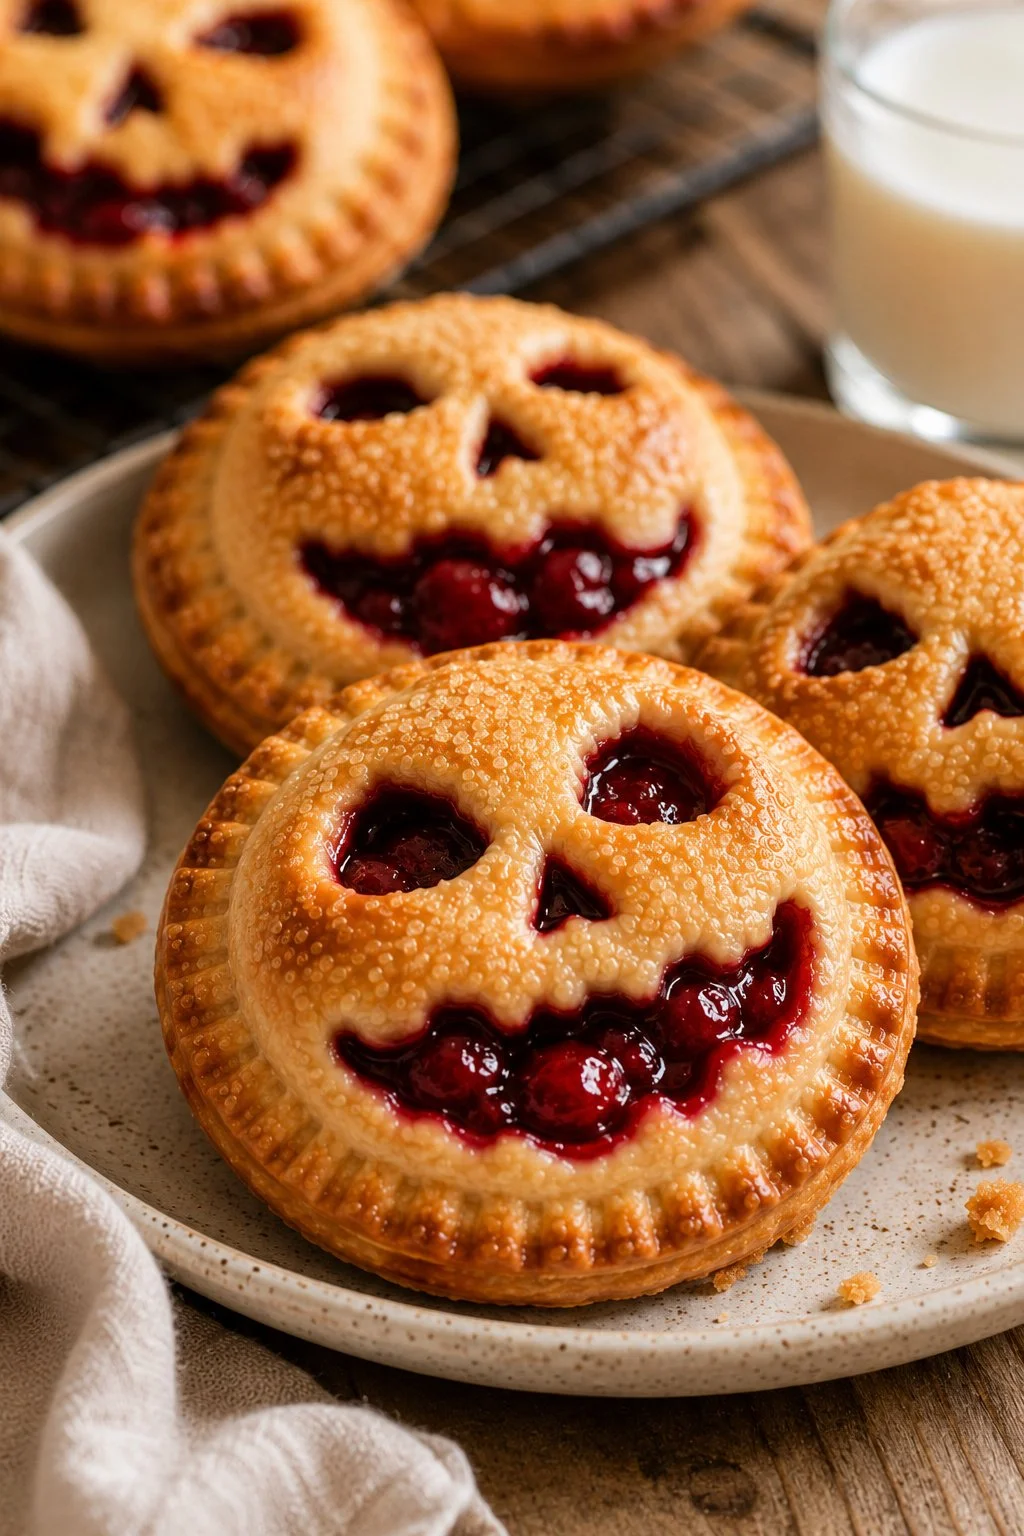
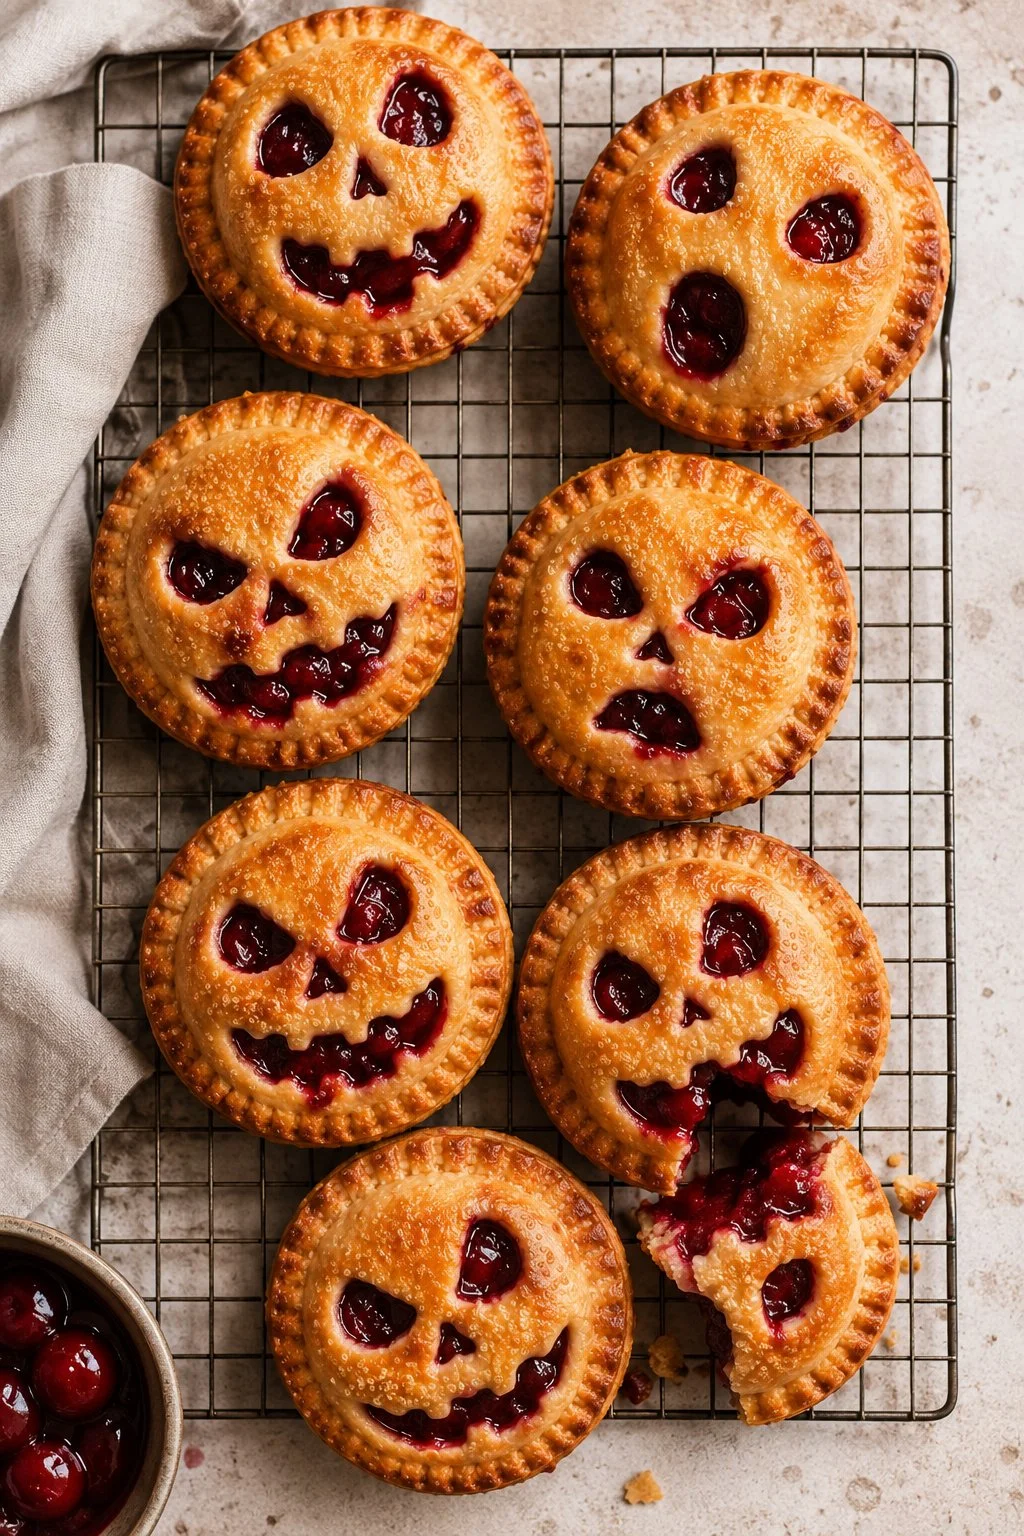
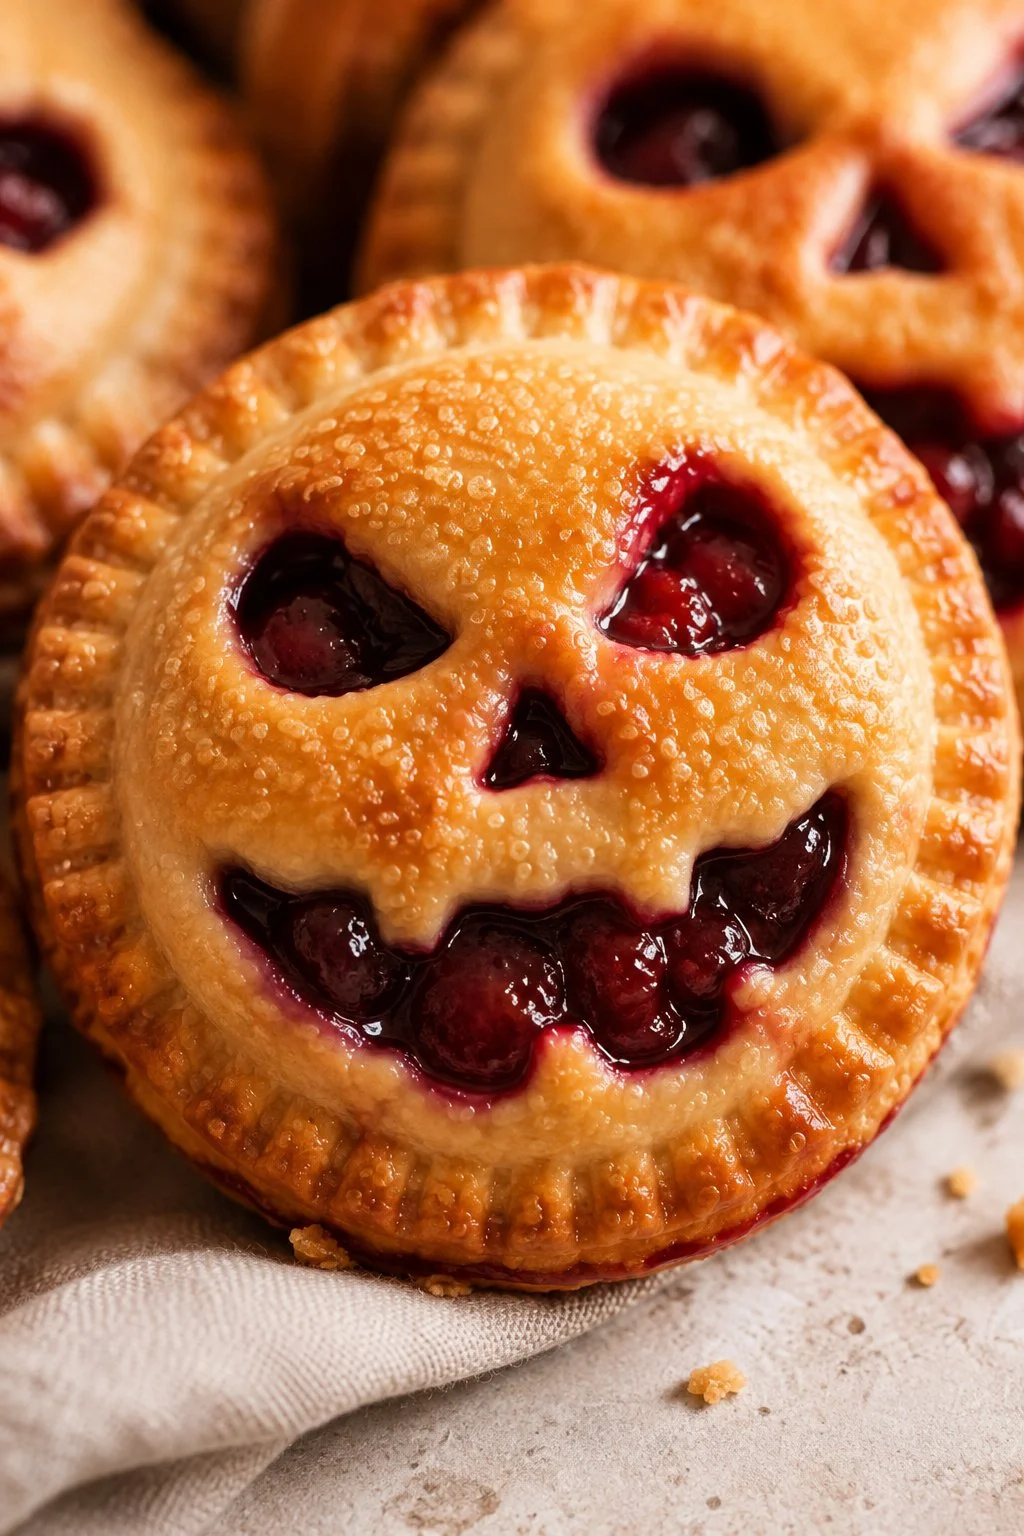
These Halloween cherry hand pies have buttery, golden pastry shells filled with glossy cherry filling and topped with spooky cut-out faces. The bubbling red cherry center peeking through the crust makes them perfect for Halloween parties, dessert boards, and October baking.
Use prepared cherry pie filling for the quickest version, or make the simple homemade cherry filling below.
Yield: 12 mini pies Bake: 220°C / 425°F Bake time: 18–25 minutes
Highlights
Easy Halloween dessert with a dramatic spooky look
Works with store-bought or homemade cherry filling
Baked in a standard muffin pan—no special pie tins needed
Perfect for Halloween parties and dessert tables
Can be assembled ahead and baked before serving
Easy to customize with different Halloween faces
Ingredients
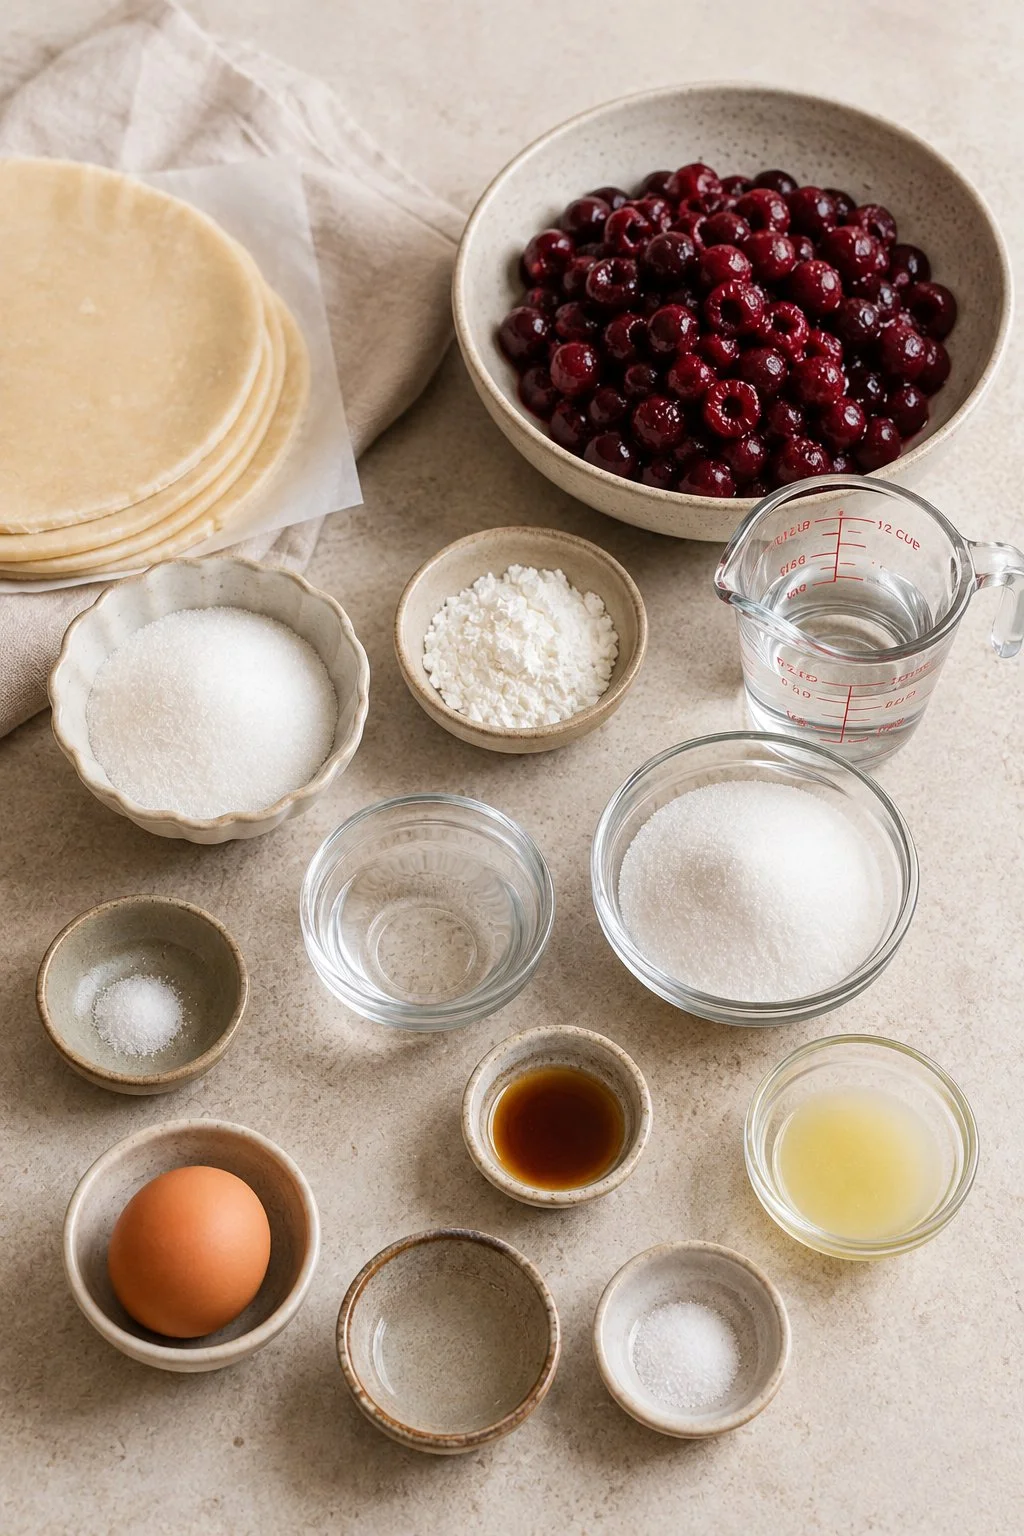
For the Mini Pies
900 g prepared pie dough, chilled*
425 g cherry pie filling, store-bought or homemade filling below
50 g egg, about 1 large egg
5 g water
12–24 g coarse sugar, optional
*You need enough dough to cut 24 rounds approximately 9–10 cm / 3½–4 inches wide. Store-bought package weights vary, so use the number of packages needed to reach approximately 900 g.
Homemade Cherry Filling
620 g pitted cherries, fresh or frozen
150 g granulated sugar
24 g cornstarch
60 g water
15 g fresh lemon juice
1 g almond extract, optional
pinch salt
Instructions
Preheat the oven. Heat oven to 220°C / 425°F. Remove the pie dough from the refrigerator and let it soften just enough to roll and cut without cracking.
Cut the pie crusts. Using a 9–10 cm / 3½–4-inch round cutter, cut 24 circles from the dough.
Prepare the muffin pan. Gently press 12 dough rounds into the cups of an ungreased standard muffin pan. Keep the remaining 12 rounds chilled while you prepare the filling.
Cook the cherry filling. Add the cherries, sugar, and salt to a medium saucepan over medium heat. If using frozen cherries, there is no need to thaw them first.
Thicken the filling. Whisk the cornstarch and 60 g water together until completely smooth. Once the cherries begin releasing juice and bubbling, slowly stir in the cornstarch mixture.
Finish the filling. Cook for 5–7 minutes, stirring frequently, until thick and glossy and the cherries are tender. Remove from the heat and stir in the lemon juice and almond extract.
Fill the pies. Spoon approximately 35 g cherry filling into each pastry-lined muffin cup. Avoid overfilling, as the filling will bubble during baking.
Create the Halloween faces. Use small piping tips and a sharp paring knife to cut spooky eyes, mouths, and expressions into the remaining 12 dough circles.
Top the pies. Place one decorated pastry round over each filled pie and gently press the edges together.
Add the egg wash. Whisk together the 50 g egg and 5 g water. Lightly brush over each pie and sprinkle with coarse sugar, if using.
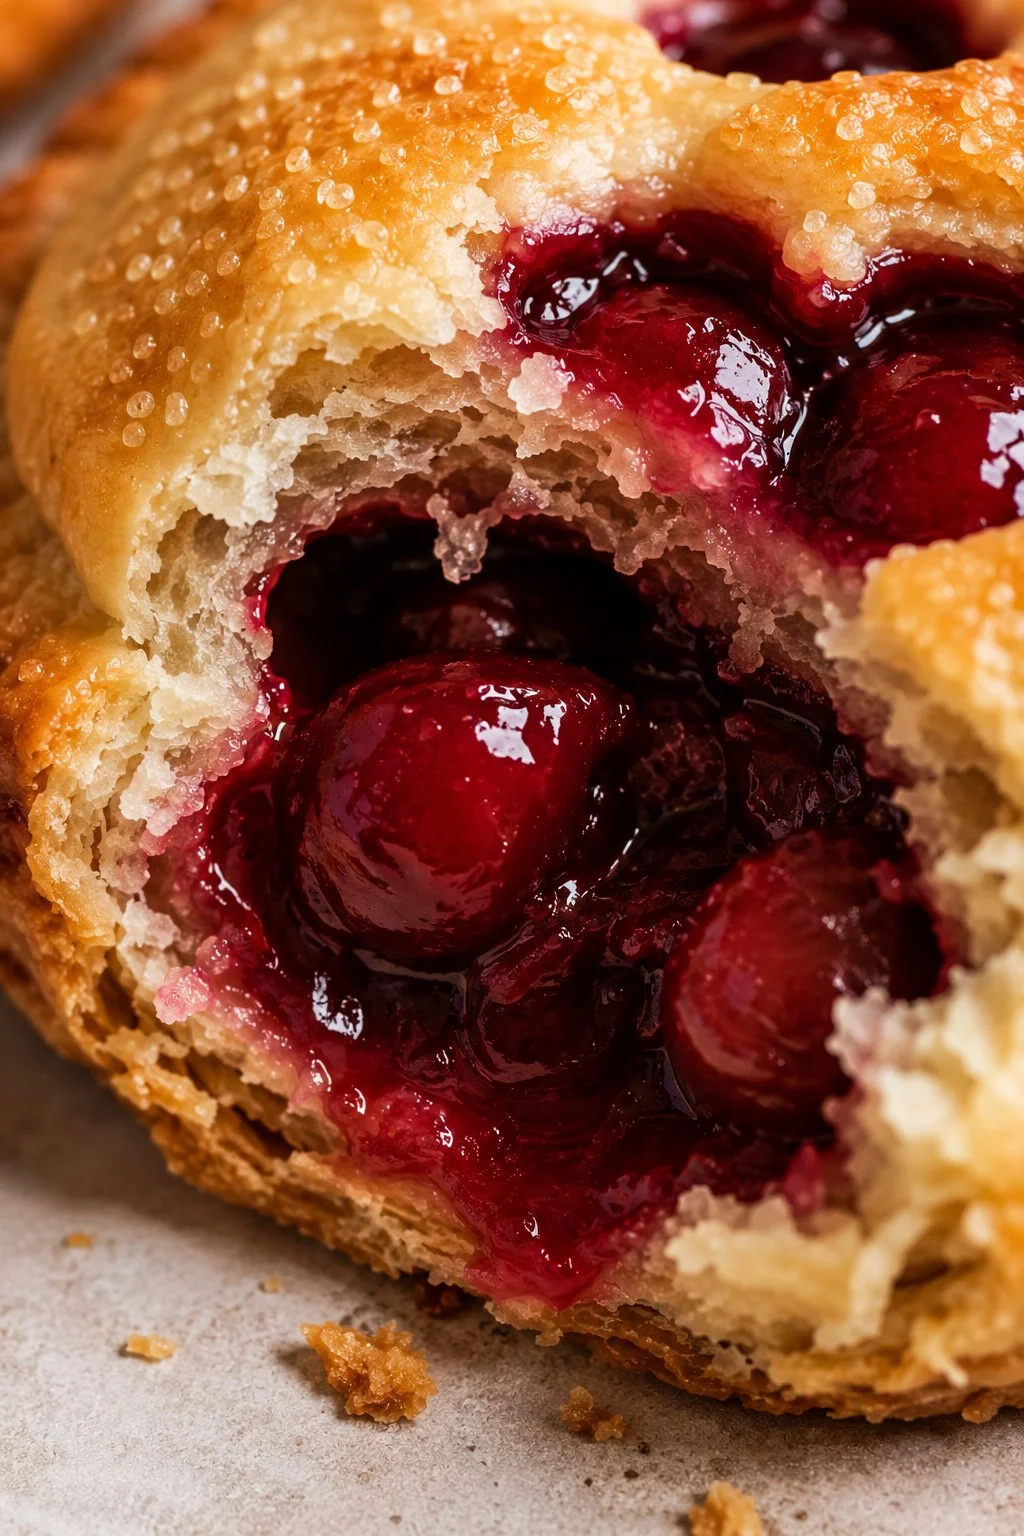
Bake. Bake for 18–25 minutes, or until the pastry is deeply golden around the edges and the cherry filling is bubbling through the faces.
Cool. Let the pies cool in the pan for about 10 minutes, then carefully transfer them to a wire rack.
Pro Tips for Perfect Halloween Cherry Pies
Keep the pastry cold: Chilled dough holds the Halloween facial details much better in the oven. If the dough becomes soft while decorating, refrigerate it for 10–15 minutes before baking.
Don’t overfill the pies: About 35 g filling per pie gives you plenty of cherry filling without excessive overflow.
Cool homemade filling before assembling: Warm filling can soften the butter in the pastry and make the crust less flaky.
Cut larger facial features than you think you need: Pastry expands slightly as it bakes, so extremely tiny eyes and mouths can close up.
Bake until properly browned: A pale crust may be underbaked underneath. Look for a rich golden color around the top and edges.

Variations
Black Cherry Halloween Pies: Use dark sweet cherries for an especially deep, dramatic red-purple filling.
Cherry-Almond Pies: Increase the almond extract slightly to 2 g for a stronger bakery-style cherry-almond flavor.
Cherry-Vanilla Pies: Replace the almond extract with 5 g vanilla extract for a softer, classic flavor.
Mixed Berry Halloween Pies: Replace part of the cherries with raspberries or blackberries for a darker Halloween filling.
Lower-Sugar Cherry Filling: Reduce the granulated sugar to 100–120 g when using naturally sweet cherries. The exact amount will depend on the fruit.
Storage Instructions
Room temperature: Store cooled pies in an airtight container for up to 1 day.
Refrigerator: Refrigerate for up to 4 days. Allow them to come closer to room temperature before serving, or gently reheat them.
Freezer: Freeze completely cooled pies in an airtight container for up to 2 months. Thaw overnight in the refrigerator.
Reheating: For the best texture, reheat at 175°C / 350°F for 5–8 minutes to refresh the pastry.
FAQ
Can I use canned cherry pie filling? Yes. Use approximately 425 g prepared cherry pie filling and skip the homemade filling steps. This is the fastest option for an easy Halloween dessert.
Can I make Halloween cherry pies ahead of time? Yes. Assemble the pies, cover the muffin pan, and refrigerate for several hours before baking. Brush with egg wash and add the coarse sugar immediately before they go into the oven.
Can I make these without a muffin pan? The muffin pan creates the deep mini-pie shape and helps contain the bubbling filling. For traditional flat hand pies, seal the filling between two pastry rounds on a parchment-lined baking sheet instead.
A Spooky Halloween Dessert Worth Making
With crisp golden pastry, bubbling cherry filling, and spooky little faces, these mini Halloween cherry pies give a classic cherry pie an easy seasonal makeover.
Serve them slightly warm for Halloween parties, spooky movie nights, fall dessert boards, or any October baking day when you want something festive without complicated decorating.

If you loved the bakery-style finish of these Halloween Cherry Hand Pies, take your skills further with my One Fold: Incredible Croissants & Amazing Cruffins ebook. This guide is designed for home bakers who want a perfect honeycomb interior every time. 🍰✨.
Download my One Fold: Incredible Croissants & Amazing Cruffins ebook here.
Disclaimer: Some links in this post are affiliate links, which means I may earn a small commission if you make a purchase—thank you for supporting my baking projects!

Halloween Cherry Hand Pies — Easy Mini Cherry Pie Dessert
These Halloween cherry hand pies have buttery, golden pastry shells filled with glossy cherry filling and topped with spooky cut-out faces. The bubbling red cherry center peeking through the crust makes them perfect for Halloween parties, dessert boards, and October baking.
Use prepared cherry pie filling for the quickest version, or make the simple homemade cherry filling below.
Ingredients
- 900 g prepared pie dough, chilled*
- 425 g cherry pie filling, store-bought or homemade filling below
- 50 g egg, about 1 large egg
- 5 g water
- 12–24 g coarse sugar, optional
- 620 g pitted cherries, fresh or frozen
- 150 g granulated sugar
- 24 g cornstarch
- 60 g water
- 15 g fresh lemon juice
- 1 g almond extract, optional
- pinch salt
Instructions
- Preheat the oven. Heat oven to 220°C / 425°F. Remove the pie dough from the refrigerator and let it soften just enough to roll and cut without cracking.
- Cut the pie crusts. Using a 9–10 cm / 3½–4-inch round cutter, cut 24 circles from the dough.
- Prepare the muffin pan. Gently press 12 dough rounds into the cups of an ungreased standard muffin pan. Keep the remaining 12 rounds chilled while you prepare the filling.
- Cook the cherry filling. Add the cherries, sugar, and salt to a medium saucepan over medium heat. If using frozen cherries, there is no need to thaw them first.
- Thicken the filling. Whisk the cornstarch and 60 g water together until completely smooth. Once the cherries begin releasing juice and bubbling, slowly stir in the cornstarch mixture.
- Finish the filling. Cook for 5–7 minutes, stirring frequently, until thick and glossy and the cherries are tender. Remove from the heat and stir in the lemon juice and almond extract.
- Fill the pies. Spoon approximately 35 g cherry filling into each pastry-lined muffin cup. Avoid overfilling, as the filling will bubble during baking.
- Create the Halloween faces. Use small piping tips and a sharp paring knife to cut spooky eyes, mouths, and expressions into the remaining 12 dough circles.
- Top the pies. Place one decorated pastry round over each filled pie and gently press the edges together.
- Add the egg wash. Whisk together the 50 g egg and 5 g water. Lightly brush over each pie and sprinkle with coarse sugar, if using.
- Bake. Bake for 18–25 minutes, or until the pastry is deeply golden around the edges and the cherry filling is bubbling through the faces.
- Cool. Let the pies cool in the pan for about 10 minutes, then carefully transfer them to a wire rack.


