

Brownie Tiramisu Cheesecake
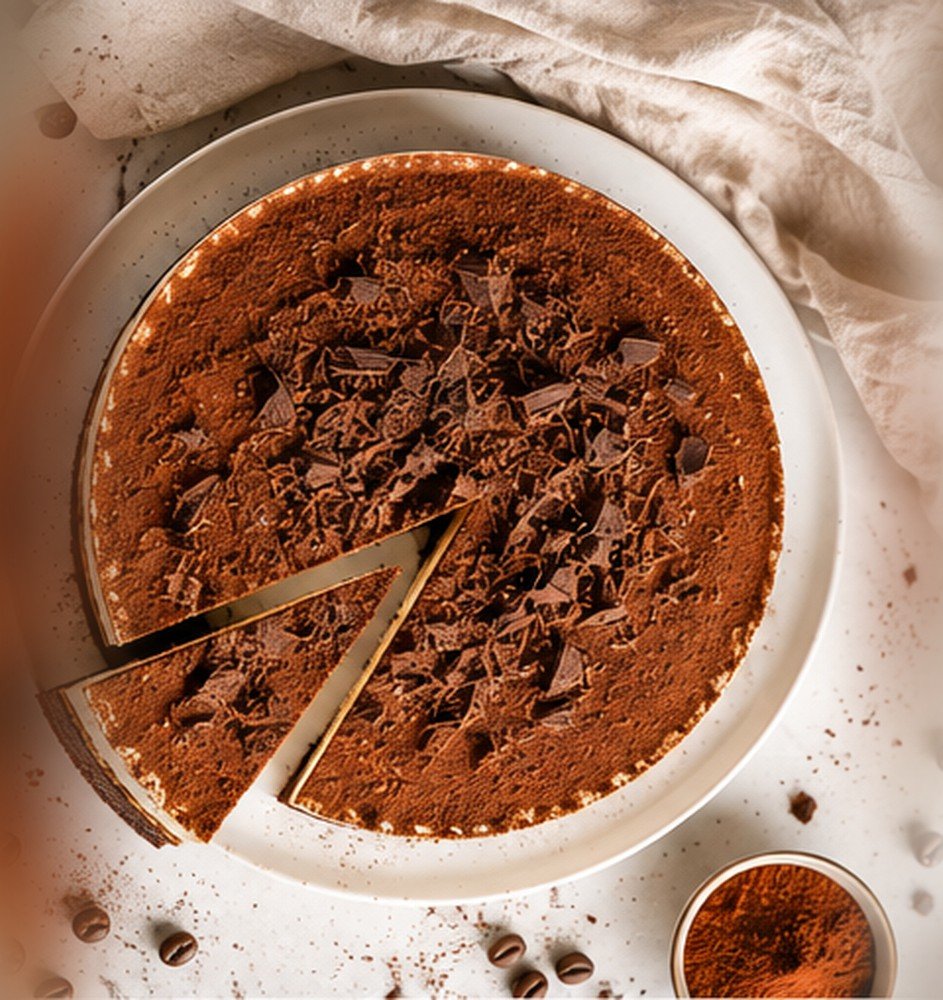
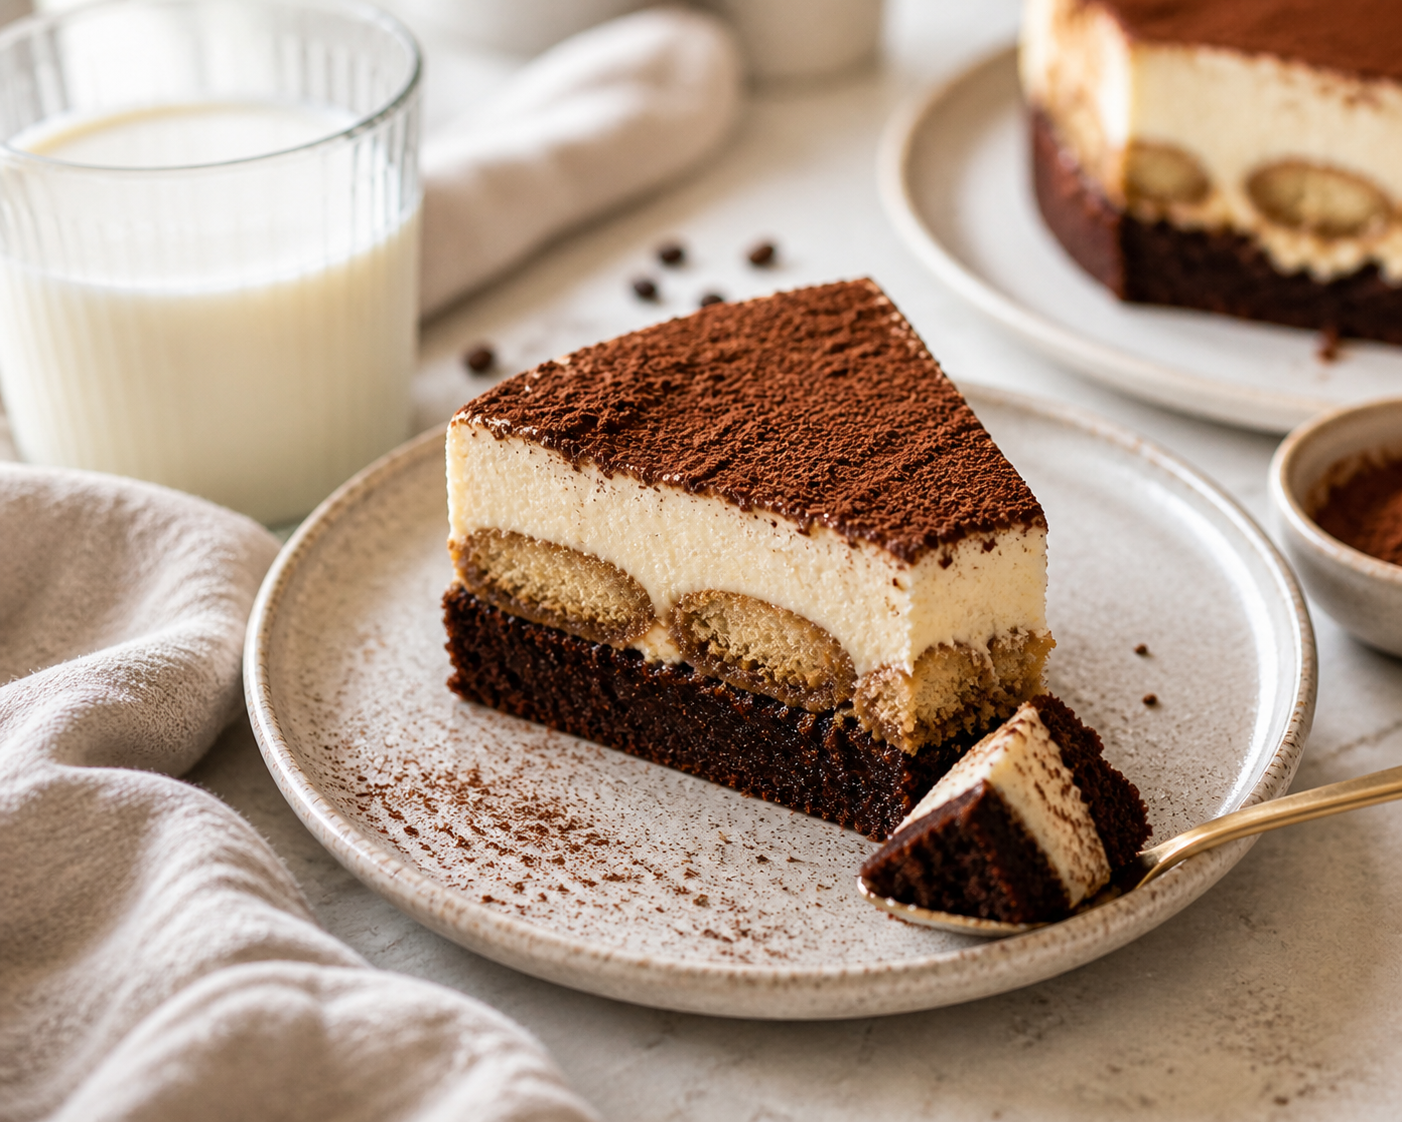
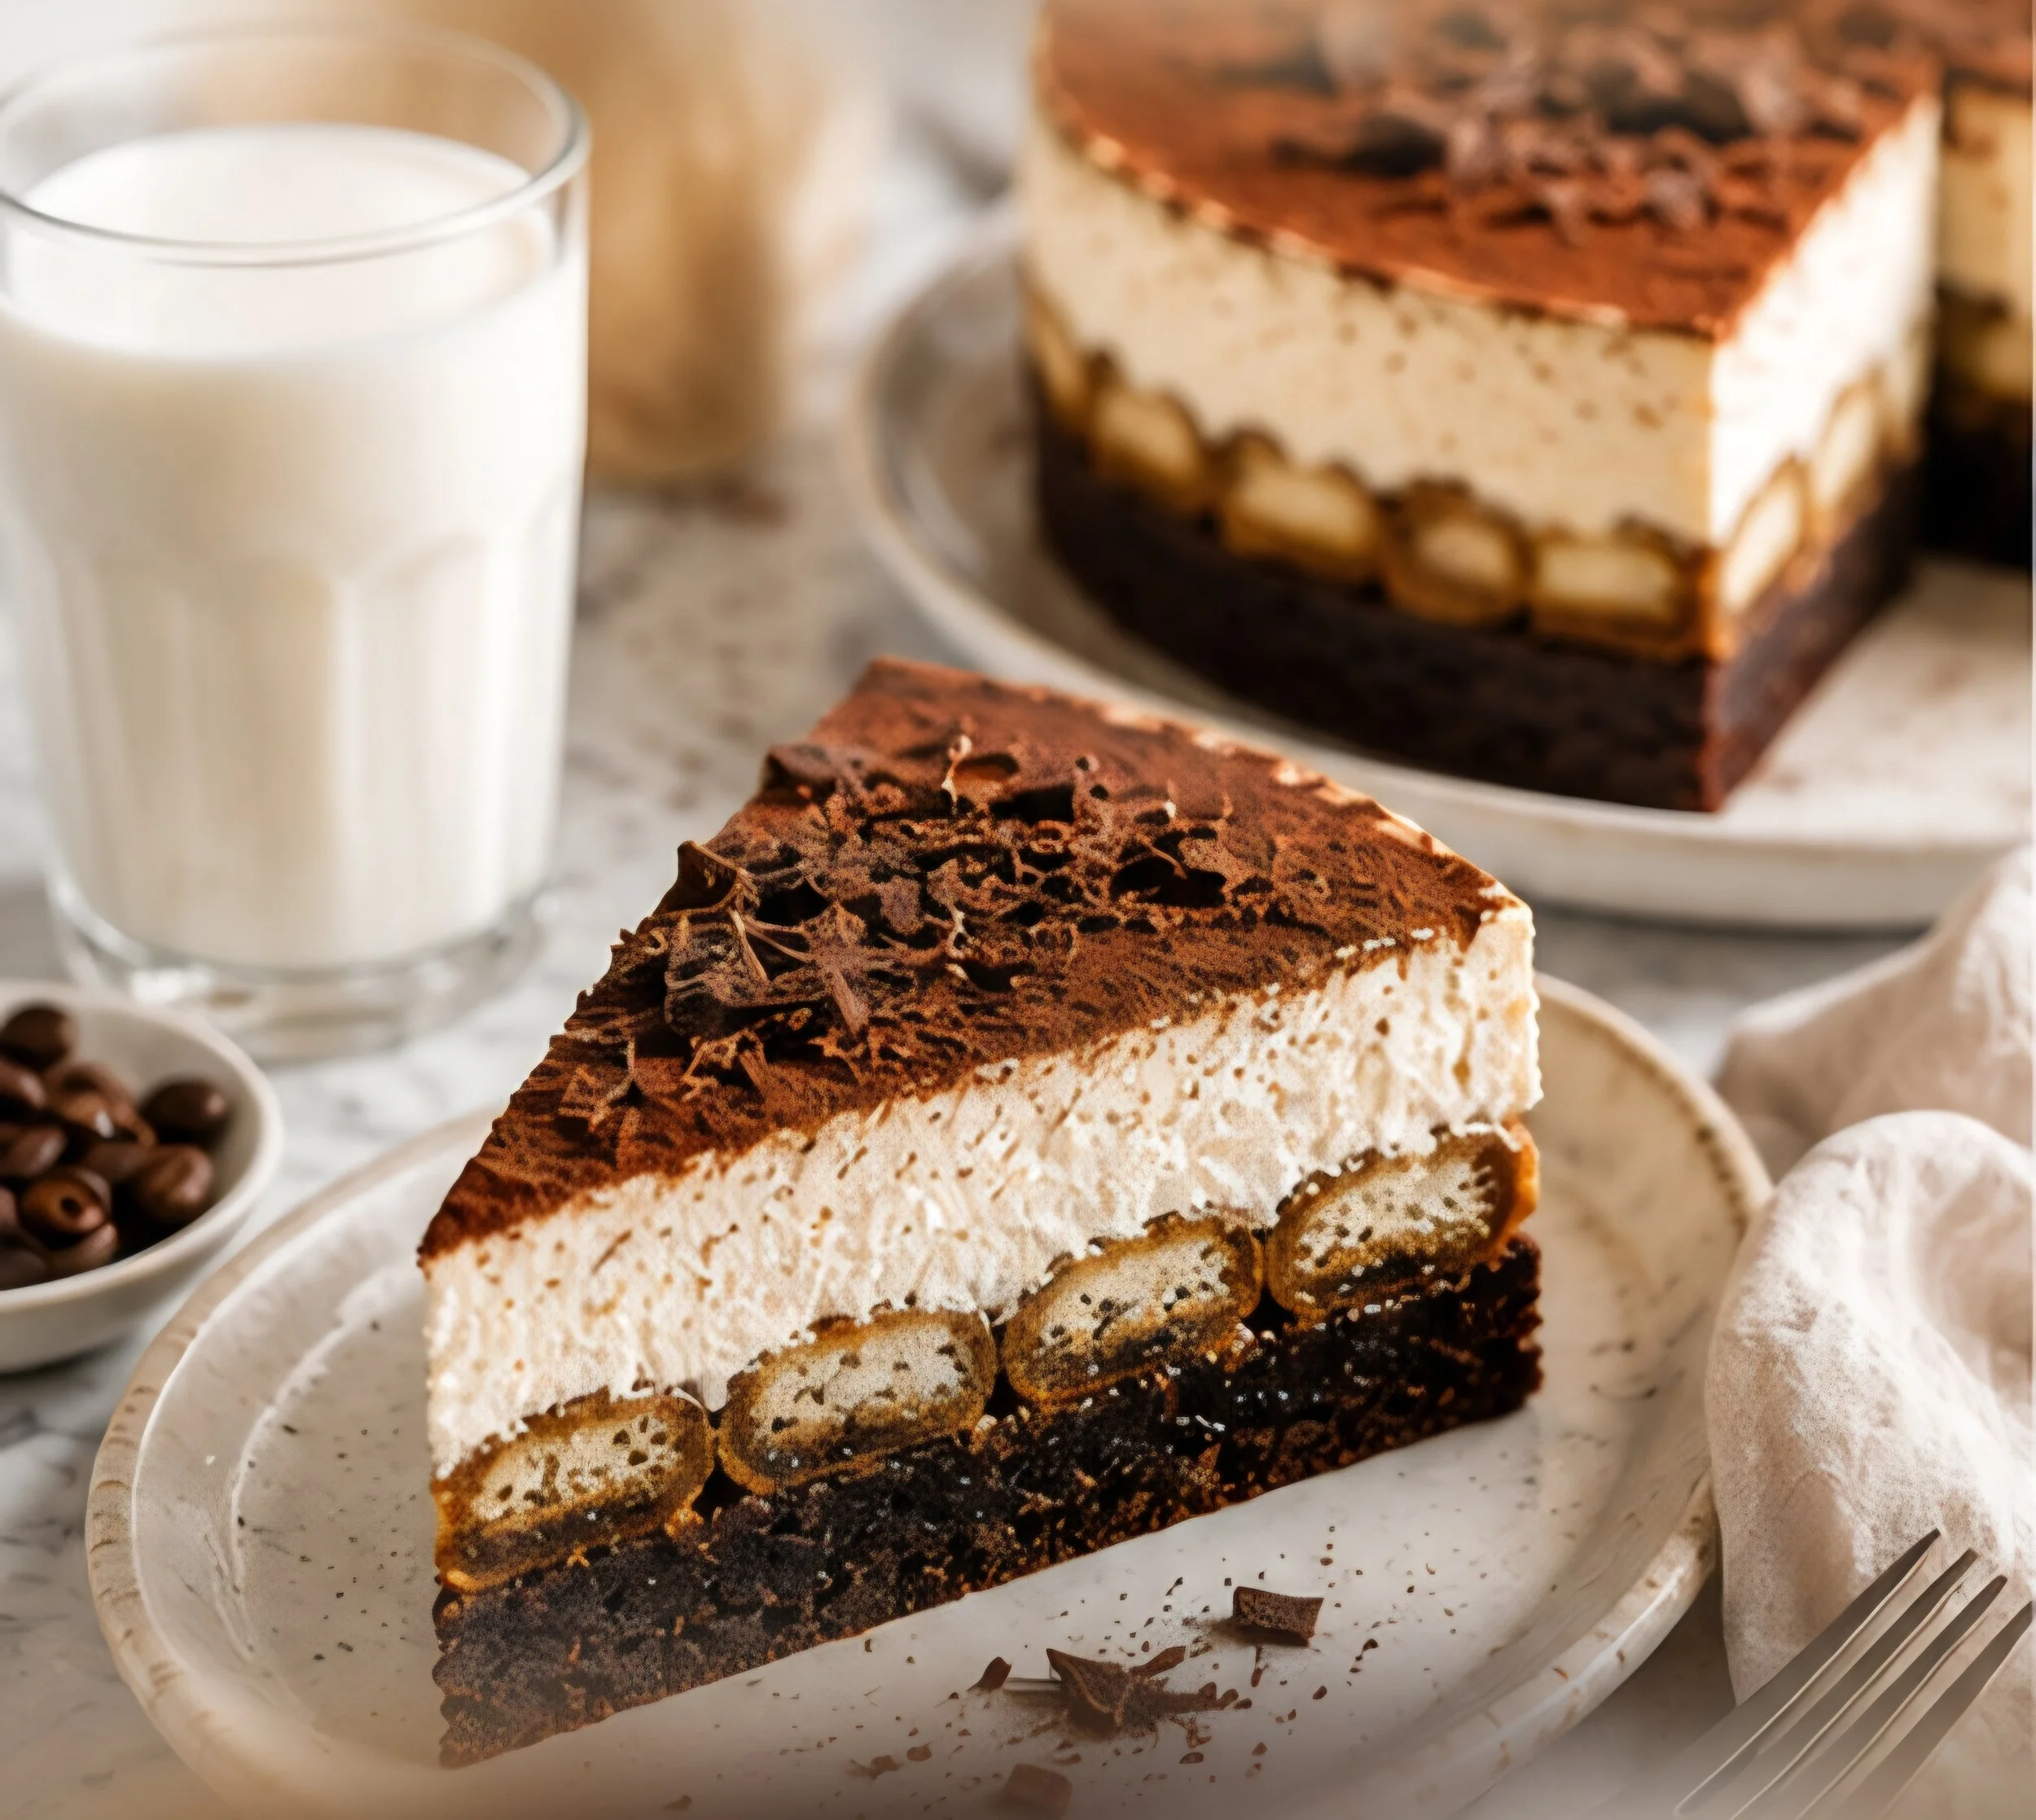
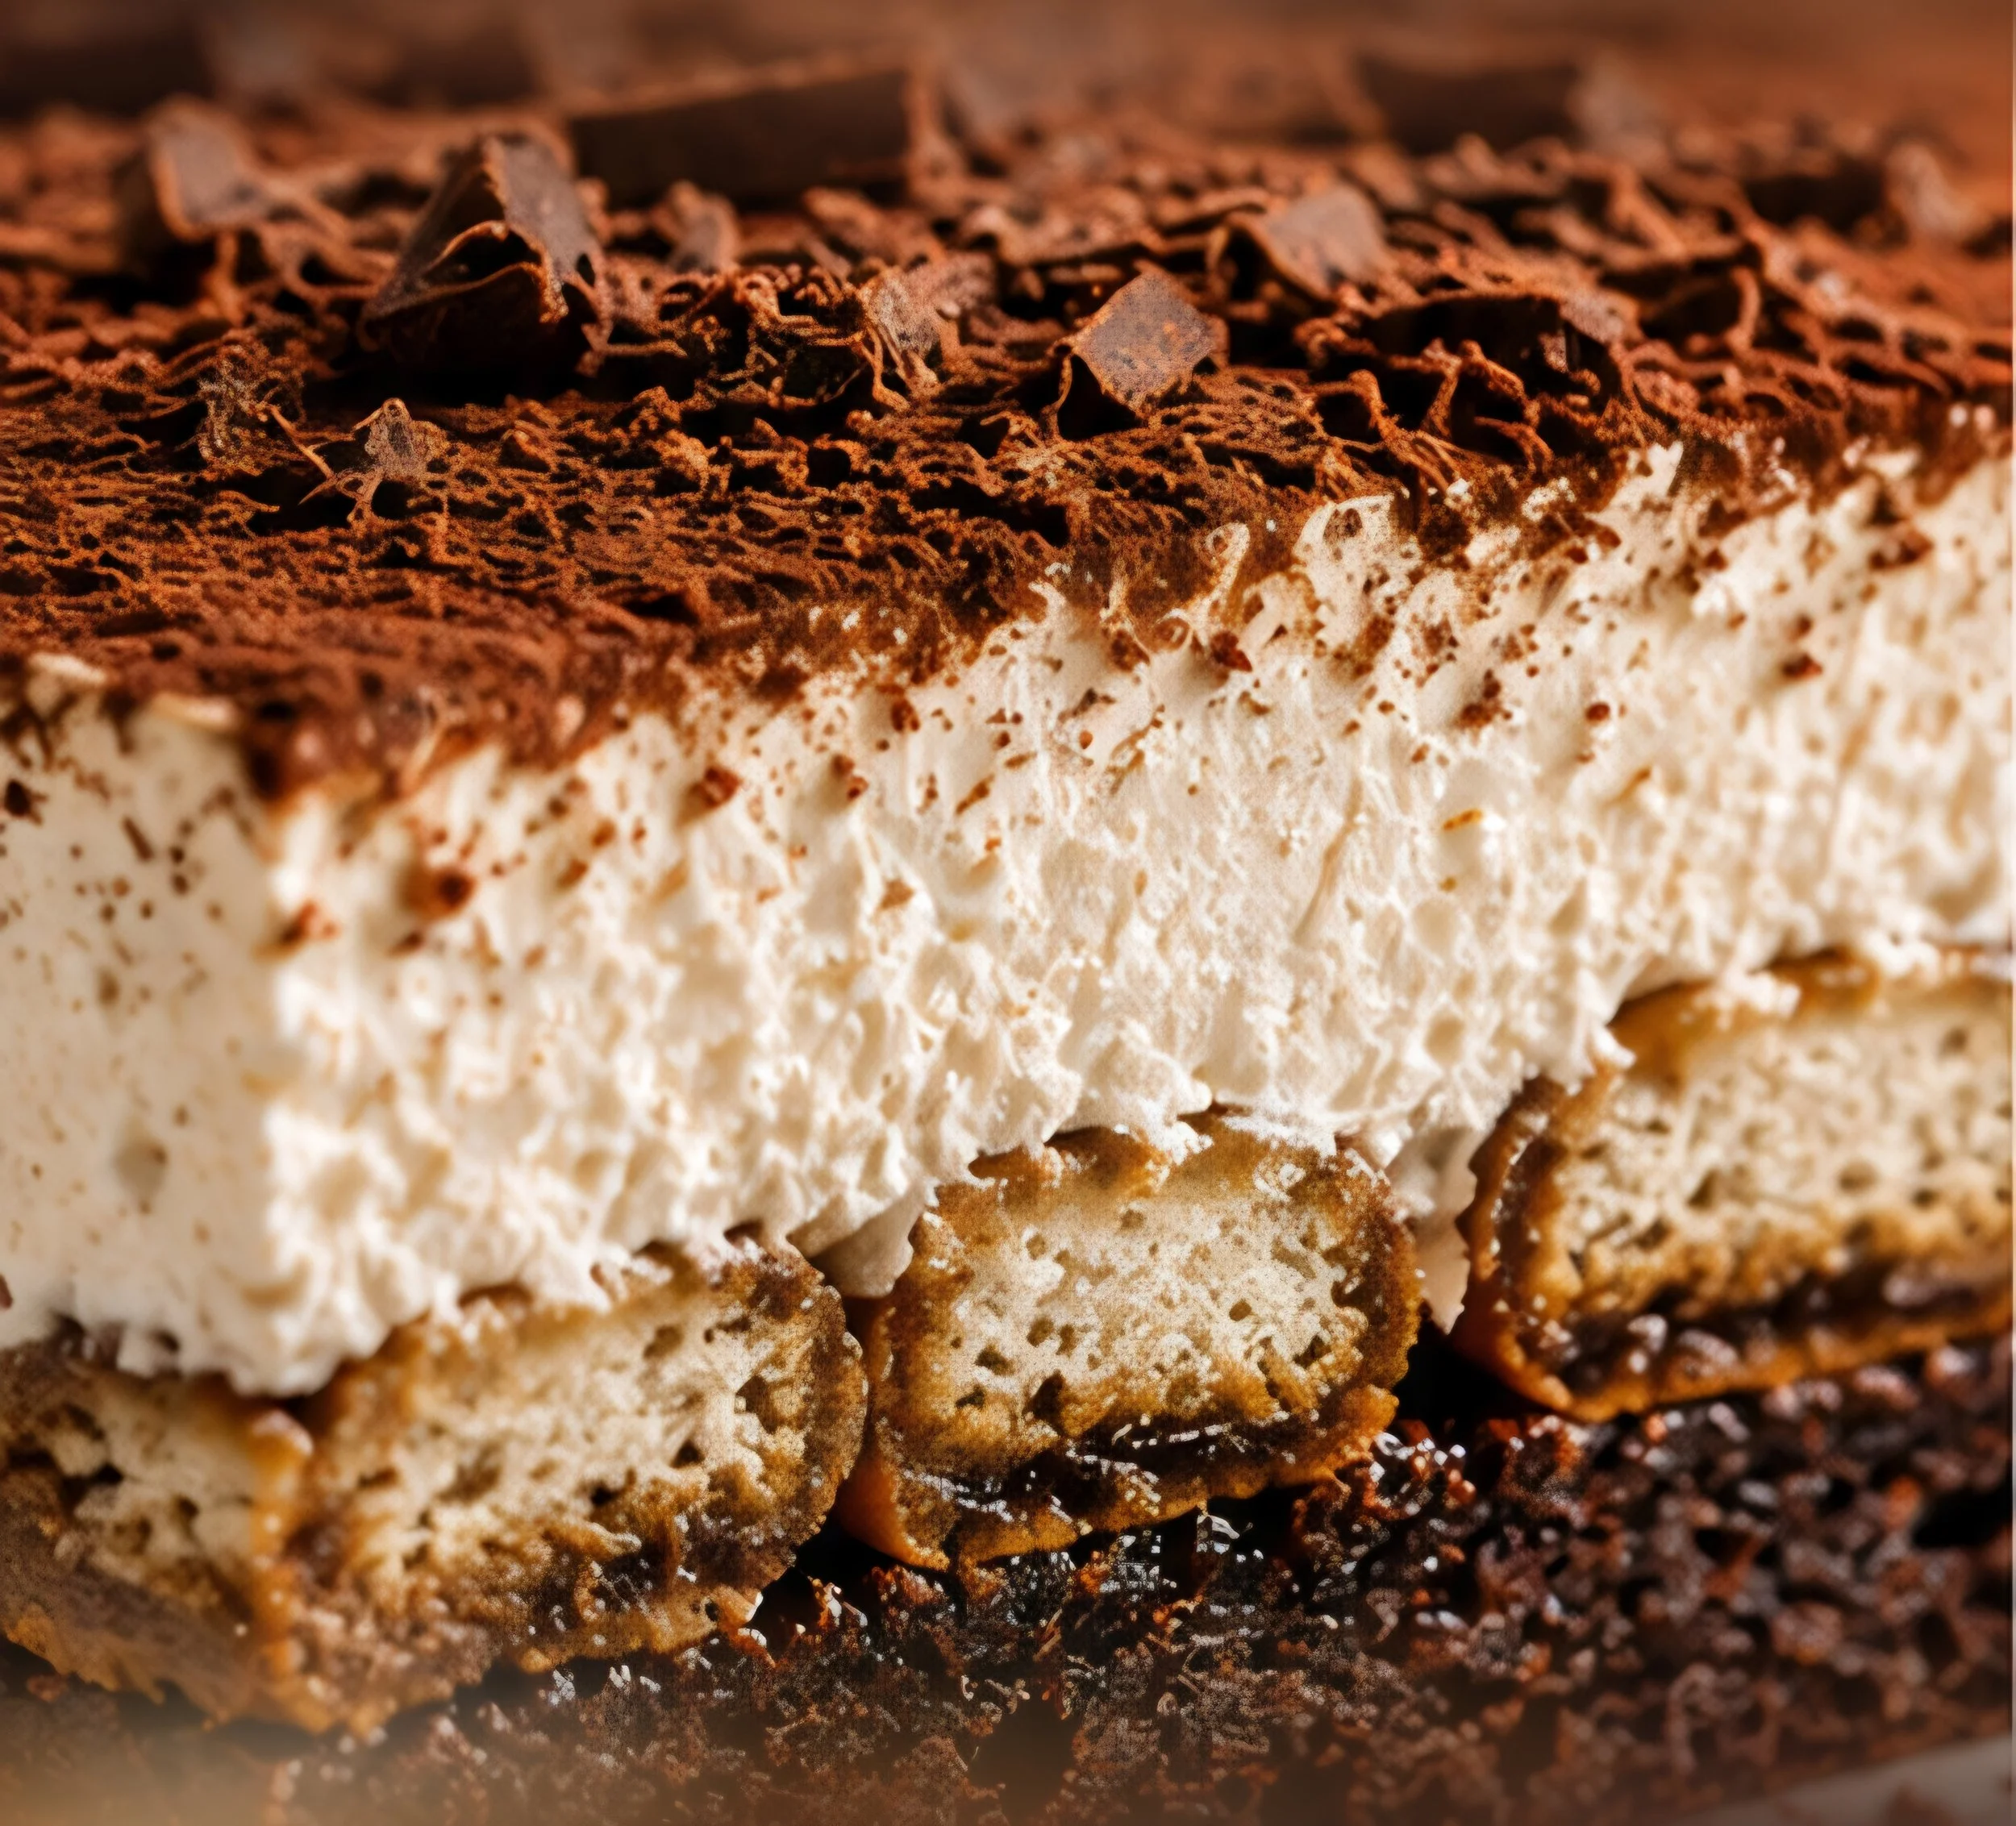
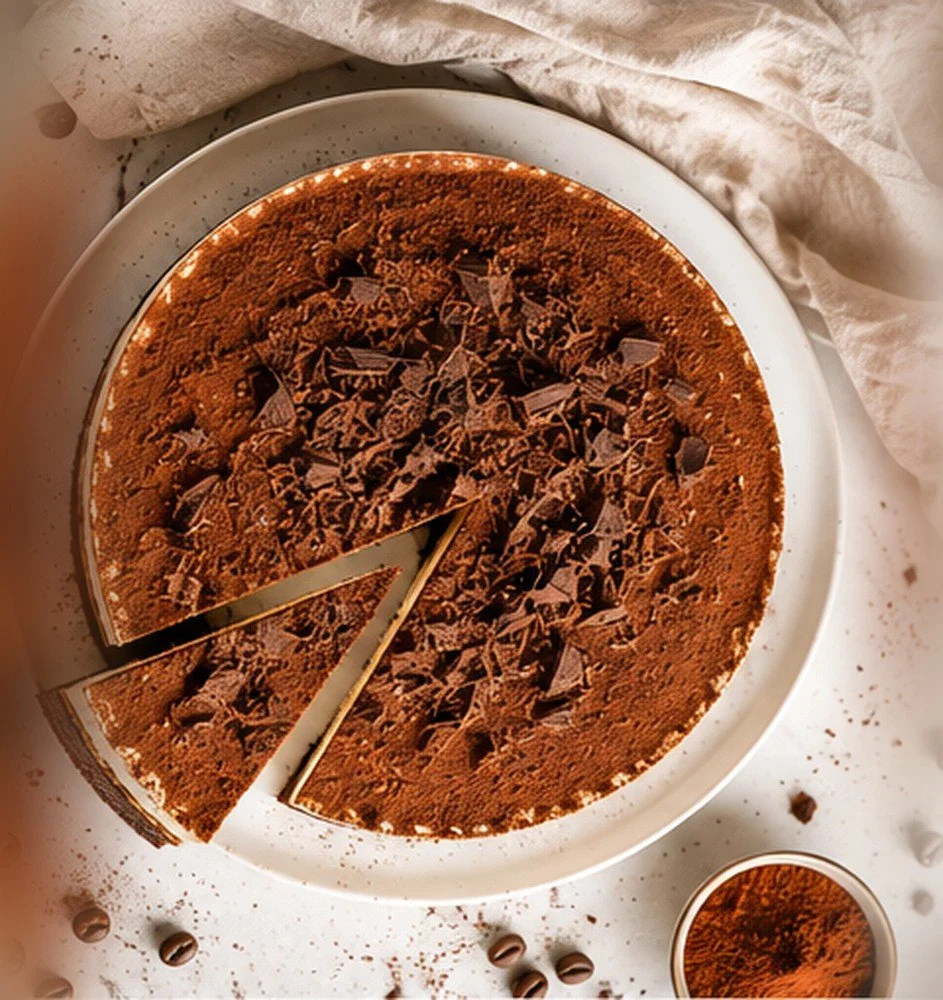
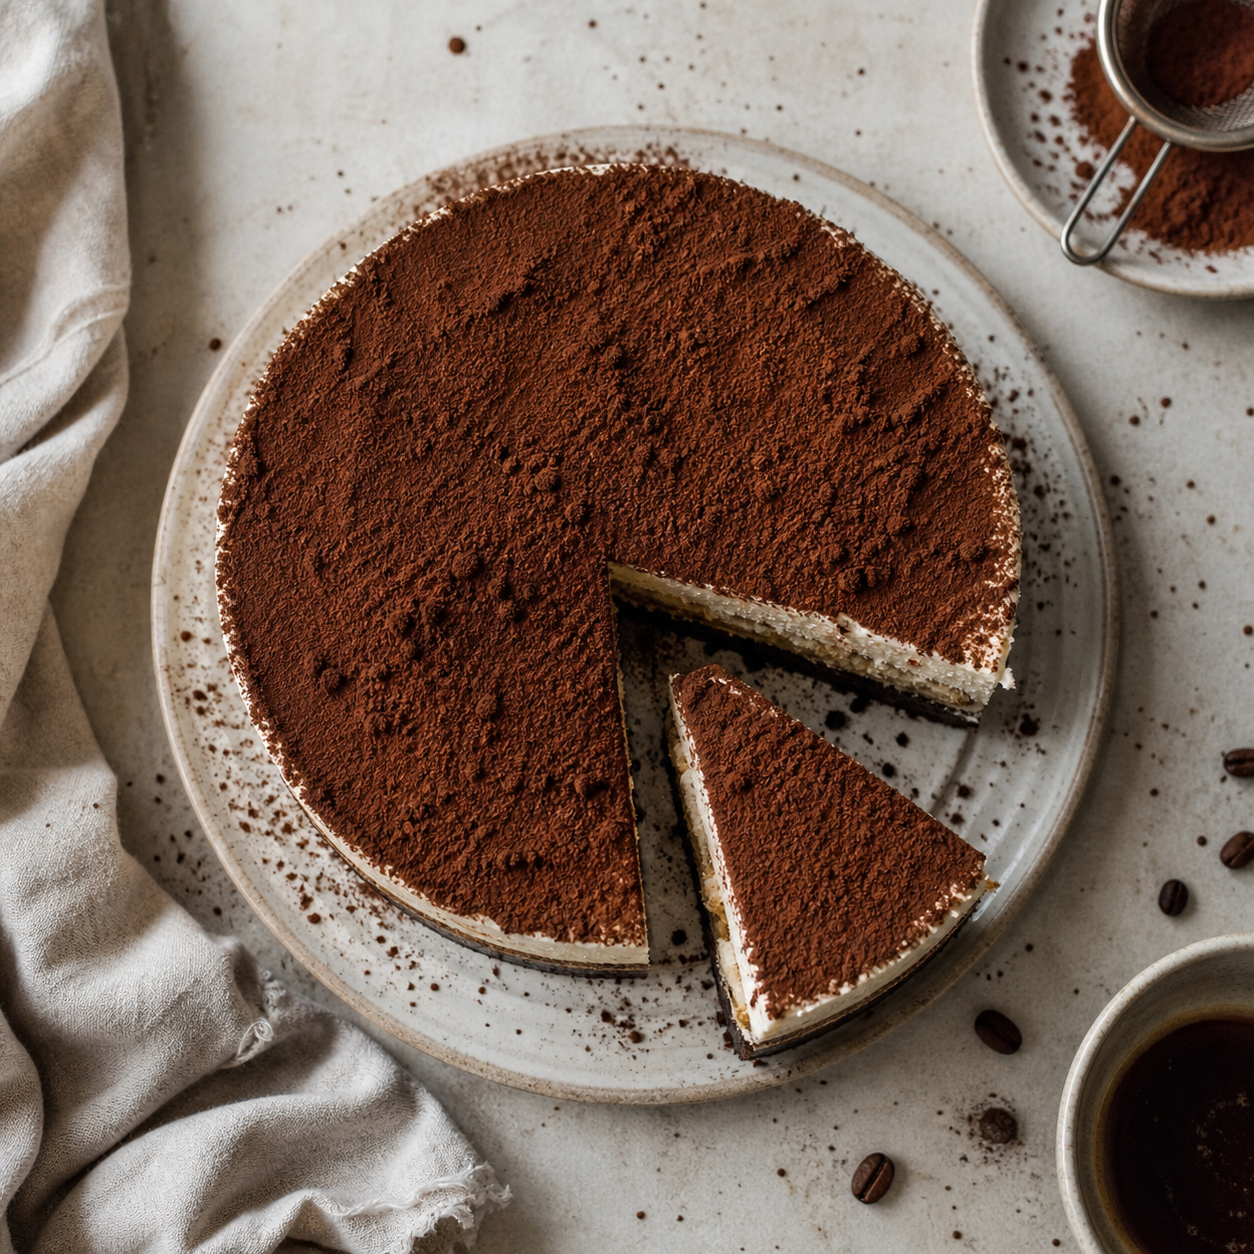
This brownie tiramisu cheesecake is rich, creamy, and layered with everything you want in one dessert: a fudgy espresso brownie base, coffee-soaked ladyfingers, and a silky no-bake espresso cheesecake.
It’s soft, creamy, slightly bitter from the coffee, and perfectly balanced with that dense chocolate base. Once chilled, it slices clean, holds its layers, and feels like a full bakery-style dessert.
Estimated Yield: 8–10 servings (7-inch cake)
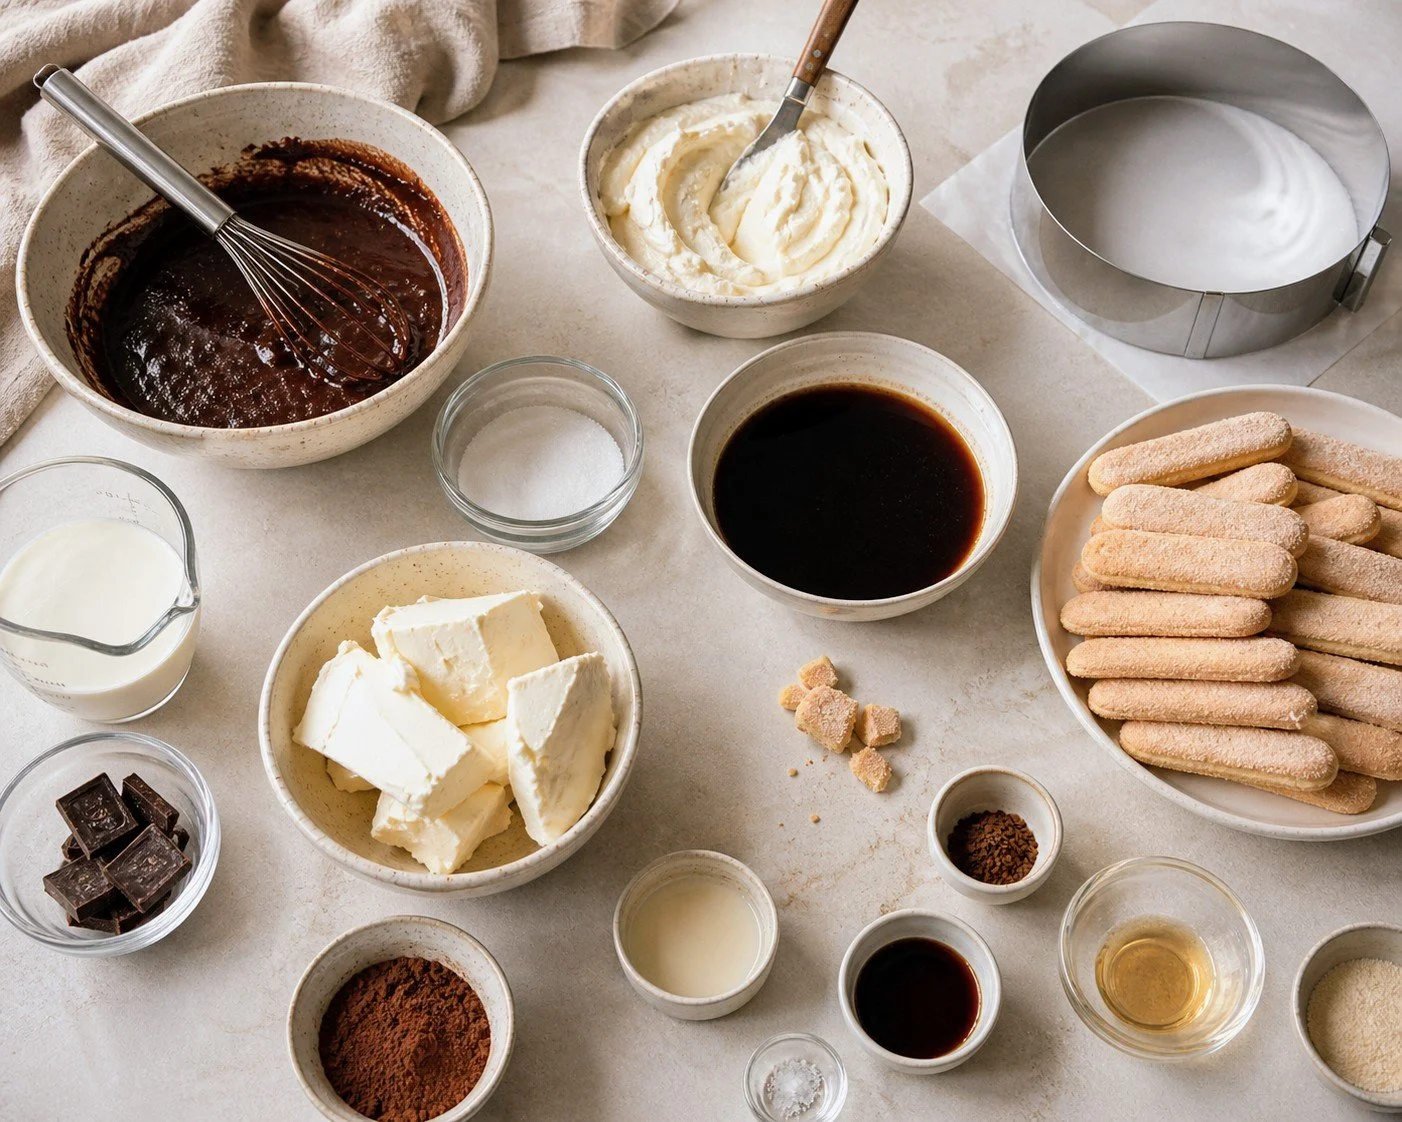
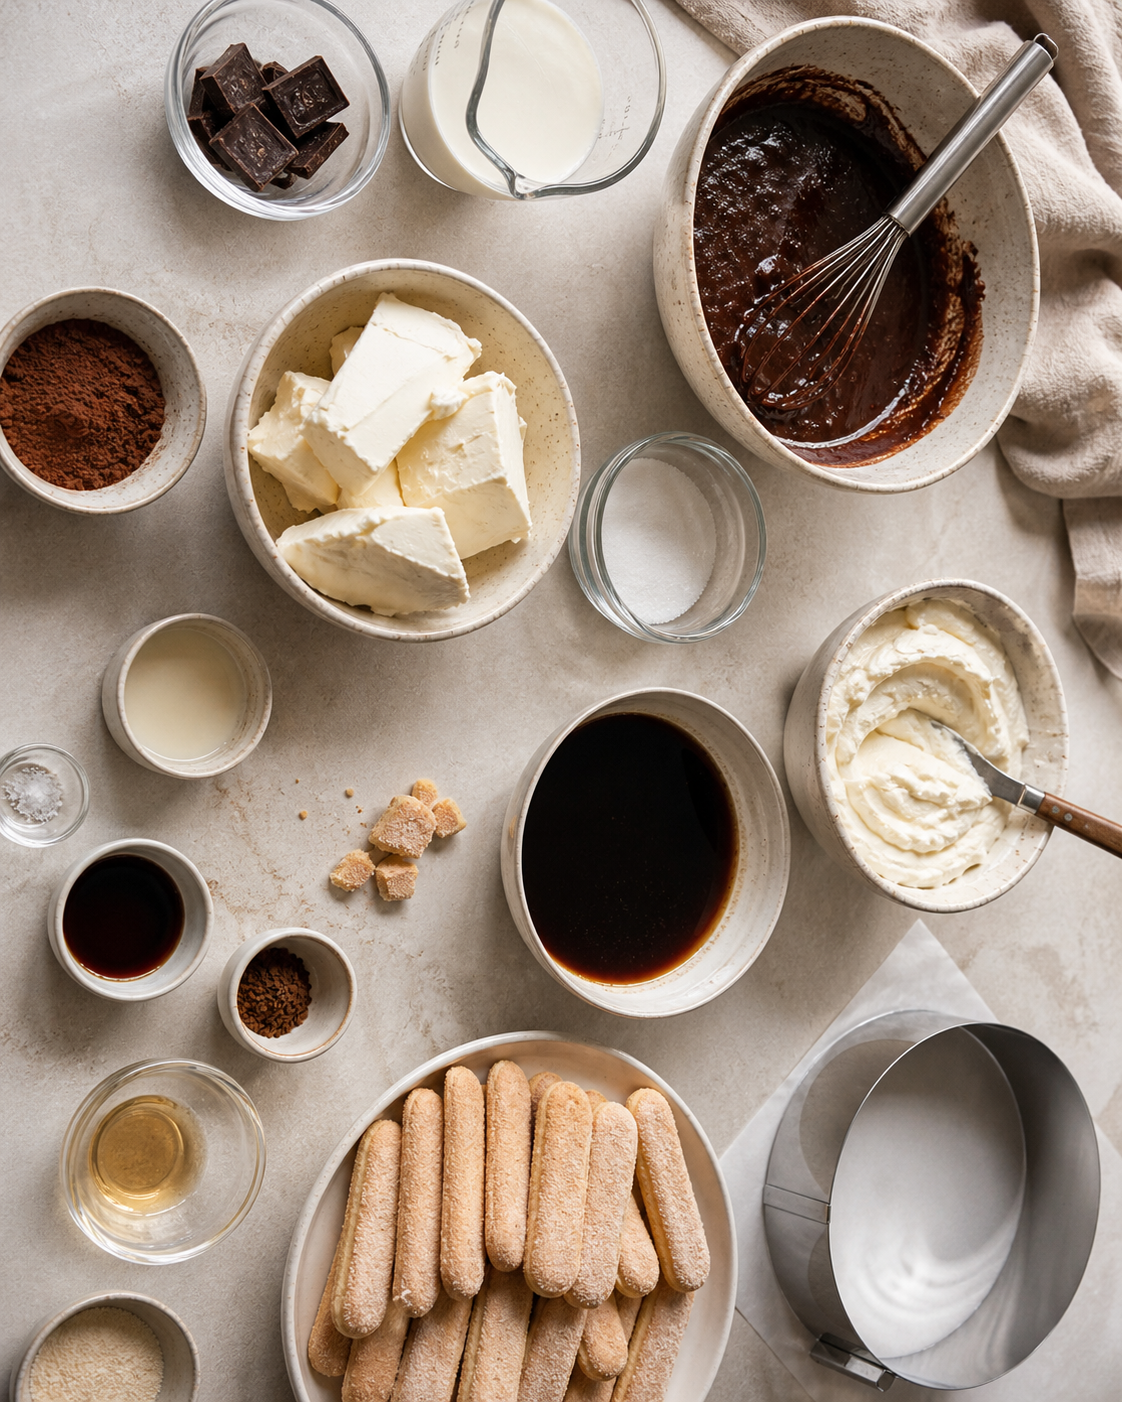
Ingredients
Espresso Brownie Base
85 g unsalted butter, melted
1 tsp honey
185 g granulated sugar
2 large eggs
1 tsp vanilla extract
1 tsp espresso powder
65 g all-purpose flour
40 g cocoa powder
Pinch of salt
Coffee Soak
250 ml strong coffee or espresso, cooled
15–20 ml coffee liqueur
15–20 ml coffee extract
10–12 ladyfingers
No-Bake Espresso Cheesecake
7 g gelatin
65 ml heavy cream (for blooming gelatin)
240 g heavy cream (for whipping)
500 g cream cheese, room temperature
100 g granulated sugar
Seeds from 1 vanilla bean
Pinch of salt
2 tsp espresso powder
1 tbsp coffee extract
Instructions
Step 1: Make the Brownie Base
Preheat oven to 350°F and line a 7-inch cake ring or springform pan with parchment.
In a bowl, whisk together the melted butter, honey, sugar, and eggs until slightly lightened.
Add the vanilla, espresso powder, and salt. Whisk again.
Add the cocoa powder and flour. Whisk until just combined.
Pour the batter into the prepared pan and smooth with an offset spatula.
Bake for 25 minutes.
Remove from the oven and let cool completely.
Once cooled, remove from the pan.
Step 2: Prepare for Assembly
Place the cooled brownie base onto a baking sheet.
Re-line your cake ring with acetate and place it around the brownie base.
Step 3: Coffee Layer
Mix together the coffee/espresso, coffee liqueur, and coffee extract.
Dip each ladyfinger quickly into the coffee mixture.
Arrange over the brownie base in an even layer, breaking pieces as needed to fill gaps.
Set aside.
Step 4: Make the Cheesecake Layer
In a small bowl, combine 65 ml heavy cream with the gelatin. Let it sit to bloom.
Once hydrated, microwave briefly until the gelatin is fully melted and smooth. Set aside.
In a bowl, combine the cream cheese, sugar, espresso powder, vanilla bean seeds, coffee extract, and salt.
Using a paddle attachment or hand mixer, beat until completely smooth and lump-free.
In a separate bowl, whip the 240 g heavy cream to soft-medium peaks.
Slowly mix the melted gelatin mixture into the cream cheese base.
Fold in the whipped cream in 2–3 additions until smooth, airy, and fully combined.
Step 5: Assemble
Pour the cheesecake mixture over the ladyfinger layer.
Smooth the top with an offset spatula.
Tap the pan gently on the counter to remove air bubbles.
Step 6: Chill
Refrigerate for at least 6–8 hours, preferably overnight, until fully set.
Step 7: Serve
Once fully set, remove the cake ring and peel away the acetate.
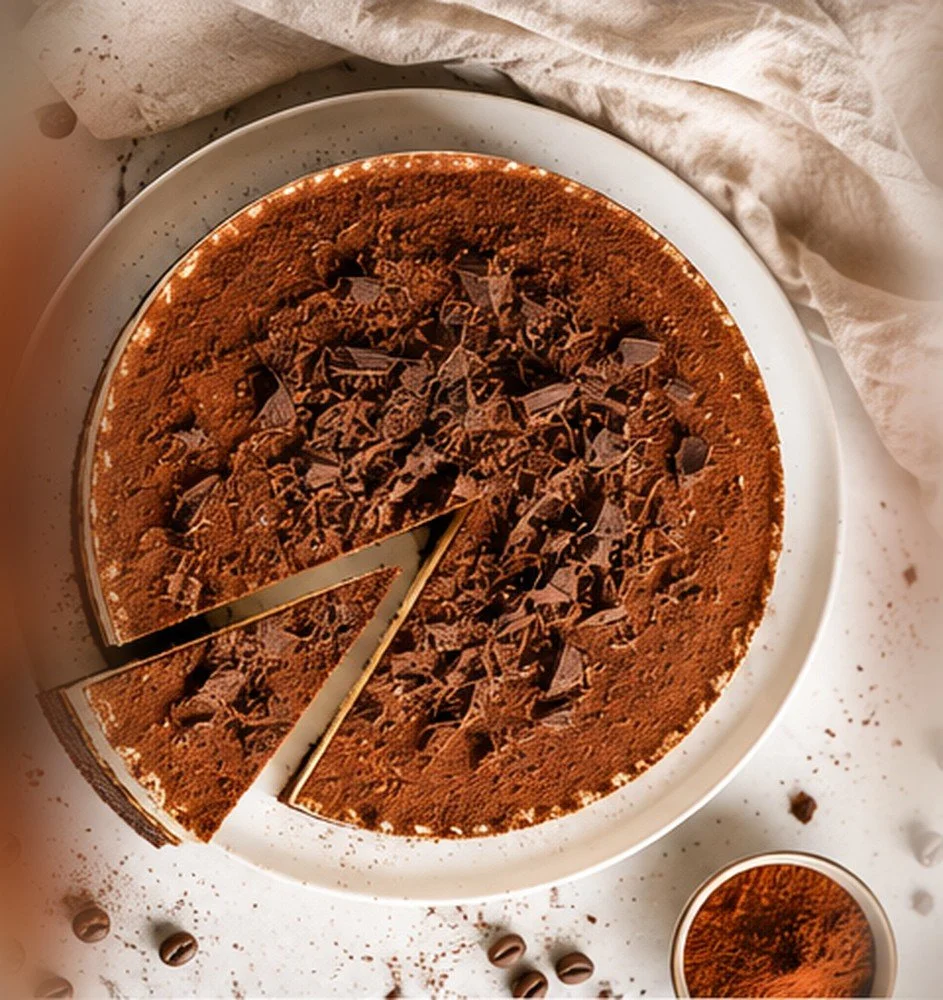
Slice with a sharp knife, wiping between each cut.
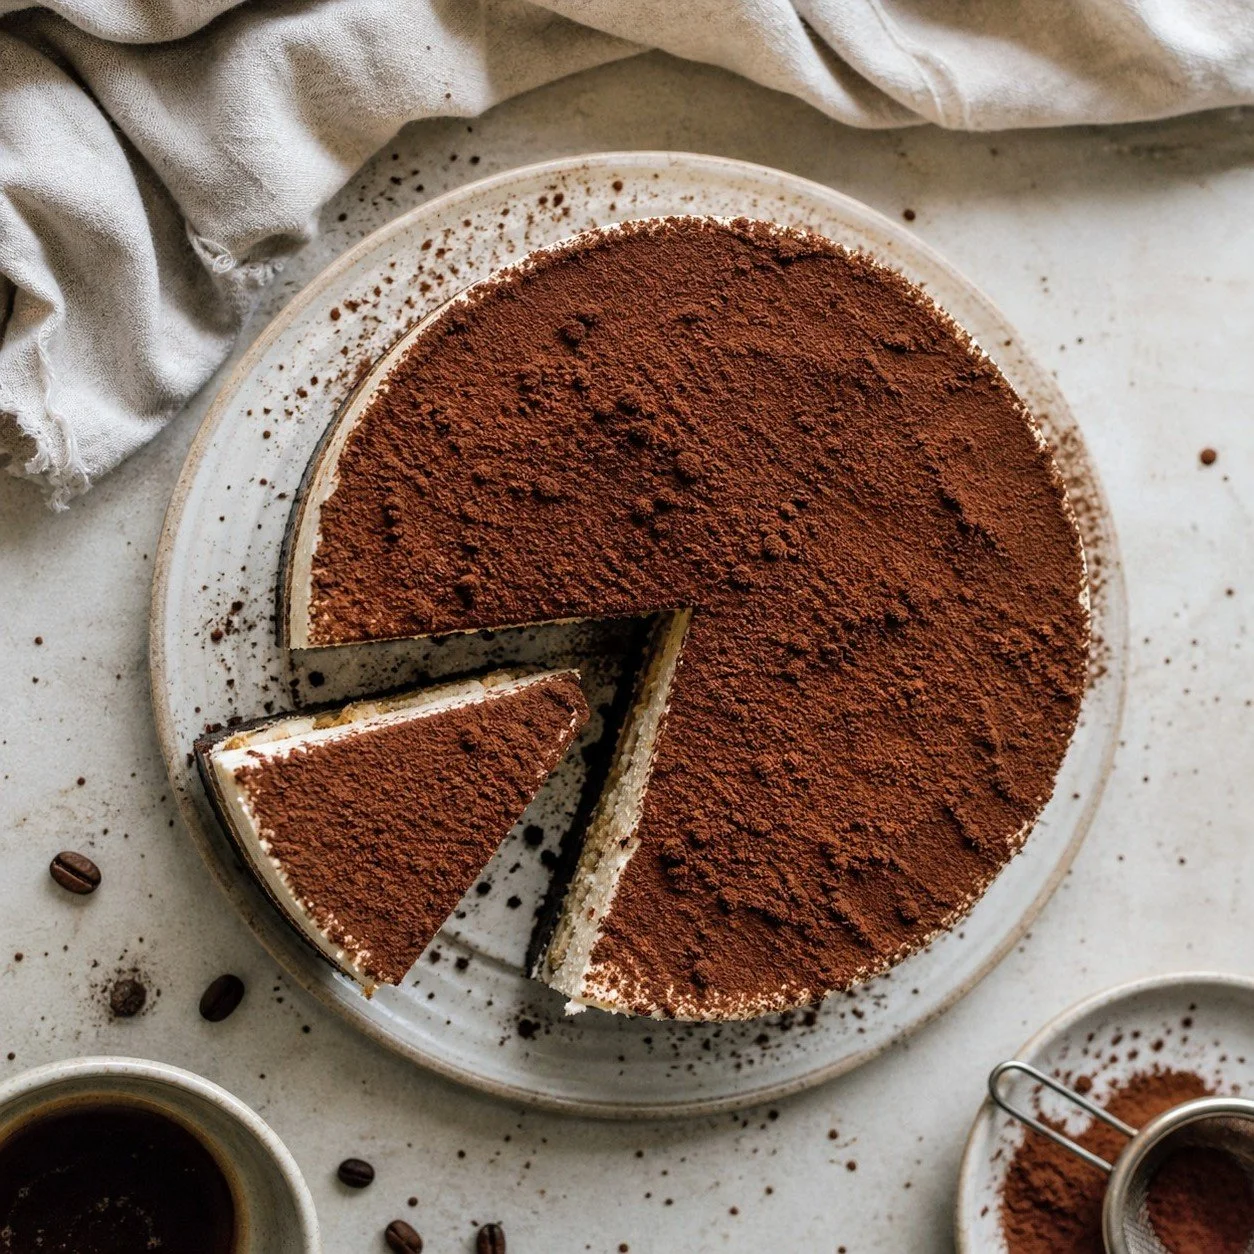
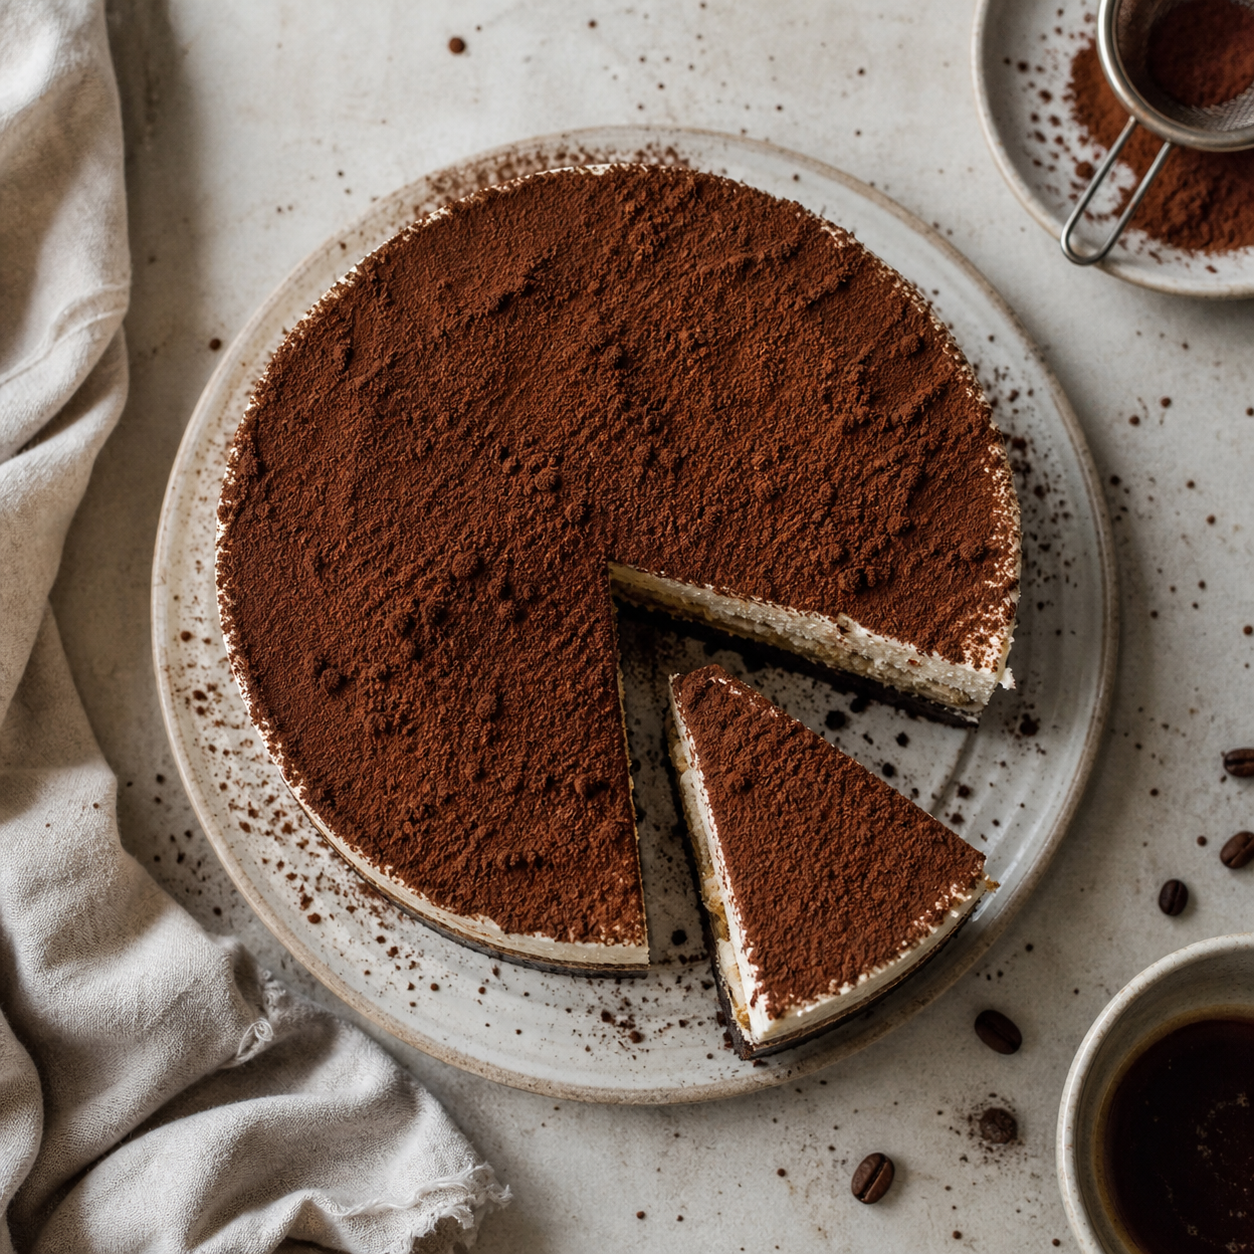
Dust with cocoa powder or finish with chocolate shavings if desired.
Notes
Make sure the brownie base is fully cooled before assembling, or the cheesecake layer can melt slightly.
Don’t soak the ladyfingers too long — a quick dip is enough to keep them from becoming too soft.
This dessert is best served chilled. The texture sets beautifully overnight, and the coffee flavor deepens into that classic tiramisu taste with a rich chocolate base.

If this bakery-quality Tiramisu Cheesecake stole your heart, you’ll love what’s waiting inside my Fantastic Pastry Cookies ebook! It’s packed with creative, flavor-packed recipes designed for home bakers looking to level up. Think rich white chocolate, warm autumn spices, and decadent dark chocolate ganache—all made simple right in your own kitchen. 🍰✨
Download the Fantastic Pastry Cookies Ebook Here
Disclaimer: Some links in this post are affiliate links, which means I may earn a small commission if you make a purchase—thank you for supporting my baking projects!

Brownie Tiramisu Cheesecake
This brownie tiramisu cheesecake is rich, creamy, and layered with everything you want in one dessert: a fudgy espresso brownie base, coffee-soaked ladyfingers, and a silky no-bake espresso cheesecake.
Ingredients
- 85 g unsalted butter, melted
- 185 g granulated sugar
- 2 large eggs
- 1 tsp vanilla extract
- 1 tsp espresso powder
- 65 g all-purpose flour
- 40 g cocoa powder
- Pinch of salt
- 250 ml strong coffee or espresso, cooled
- 15–20 ml coffee liqueur
- 15–20 ml coffee extract
- 10–12 ladyfingers
- 7 g gelatin
- 65 ml heavy cream (for blooming gelatin)
- 240 g heavy cream (for whipping)
- 500 g cream cheese, room temperature
- 100 g granulated sugar
- Seeds from 1 vanilla bean
- Pinch of salt
- 2 tsp espresso powder
- 1 tbsp coffee extract
Instructions
- Preheat oven to 350°F and line a 7-inch cake ring or springform pan with parchment.
- In a bowl, whisk together the melted butter, sugar, and eggs until slightly lightened.
- Add the vanilla, espresso powder, and salt. Whisk again.
- Add the cocoa powder and flour. Whisk until just combined.
- Pour the batter into the prepared pan and smooth with an offset spatula.
- Bake for 25 minutes.
- Remove from the oven and let cool completely.
- Once cooled, remove from the pan.
- Place the cooled brownie base onto a baking sheet.
- Re-line your cake ring with acetate and place it around the brownie base.
- Mix together the coffee/espresso, coffee liqueur, and coffee extract.
- Dip each ladyfinger quickly into the coffee mixture.
- Arrange over the brownie base in an even layer, breaking pieces as needed to fill gaps.
- Set aside.
- In a small bowl, combine 65 ml heavy cream with the gelatin. Let it sit to bloom.
- Once hydrated, microwave briefly until the gelatin is fully melted and smooth. Set aside.
- In a bowl, combine the cream cheese, sugar, espresso powder, vanilla bean seeds, coffee extract, and salt.
- Using a paddle attachment or hand mixer, beat until completely smooth and lump-free.
- In a separate bowl, whip the 240 g heavy cream to soft-medium peaks.
- Slowly mix the melted gelatin mixture into the cream cheese base.
- Fold in the whipped cream in 2–3 additions until smooth, airy, and fully combined.
- Pour the cheesecake mixture over the ladyfinger layer.
- Smooth the top with an offset spatula.
- Tap the pan gently on the counter to remove air bubbles.
- Refrigerate for at least 6–8 hours, preferably overnight, until fully set.
- Once fully set, remove the cake ring and peel away the acetate.
- Slice with a sharp knife, wiping between each cut.
- Dust with cocoa powder or finish with chocolate shavings if desired.
Notes
- Make sure the brownie base is fully cooled before assembling, or the cheesecake layer can melt slightly.
- Don’t soak the ladyfingers too long — a quick dip is enough to keep them from becoming too soft.
- This dessert is best served chilled. The texture sets beautifully overnight, and the coffee flavor deepens into that classic tiramisu taste with a rich chocolate base.


