
Swiss Meringue Recipe
Sasha’s Best (and easiest) Swiss Meringue Recipe that you will ever try, for crack-free beautiful results every time
Ingredients:
100 grams room temperature fresh egg whites
200 grams caster (superfine) sugar
Note:
Separate your egg whites from egg yolks while your eggs are cold – way easier! Leave egg whites out to warm up to room temperature for at least an hour. If you were not able to do that – don’t worry! Place your microwave safe container with egg whites into the microwave for just 10 seconds – and voila! – room temperature egg whites!
If you do not have caster sugar, you can make it yourself - Pulse regular sugar in your blender just for few times, but be careful – don’t overdo it, otherwise you’ll end up with powdered sugar and that’s whole other recipe…😀
Directions:
Preheat your oven on Conventional Bake setting for 180 F for more crunchy Meringue, or for 200 F for more chewy Meringue (more about that in step 8).
Prepare double boiler: I use a pot slightly larger in diameter then my mixing bowl. Fill it with bit of water and place on medium-high heat.
Wipe your mixing bowl and whisker attachment with bit of lemon juice on piece of paper towel. Pour your 100 g. room temperature egg whites and 200 g. caster sugar into your mixing bowl and place into pot with boiling water. Make sure your mixing bowl with egg whites and sugar do not touch the boiling water. Reduce the heat to medium-low to insure the water is barely simmering.
Whisk your egg whites/sugar mixture with your whisker nonstop ( I use the mixer attachment whisker – less steps, less dishes to wash J), just for 2 minutes.
Transfer your mixing bowl onto the mixer and start mixing on low speed for 30 seconds, gradually increasing the speed to highest. Mix on highest for 8 minutes – Congratulations, your Swiss Meringue is ready! We are looking for very stiff meringue here, meaning – when 8 minutes passed, pull your mixer’s whisker out and check for meringue’s peak – it will just slightly curve. Another way to check – is to put your mixing bowl with meringue upside down – your meringue will not even move; but I only suggest this “quality check” if you are sure that you’ve followed all of my directions above and your meringue is stiff – otherwise, I am not coming to help you clean your kitchen’s floor… J
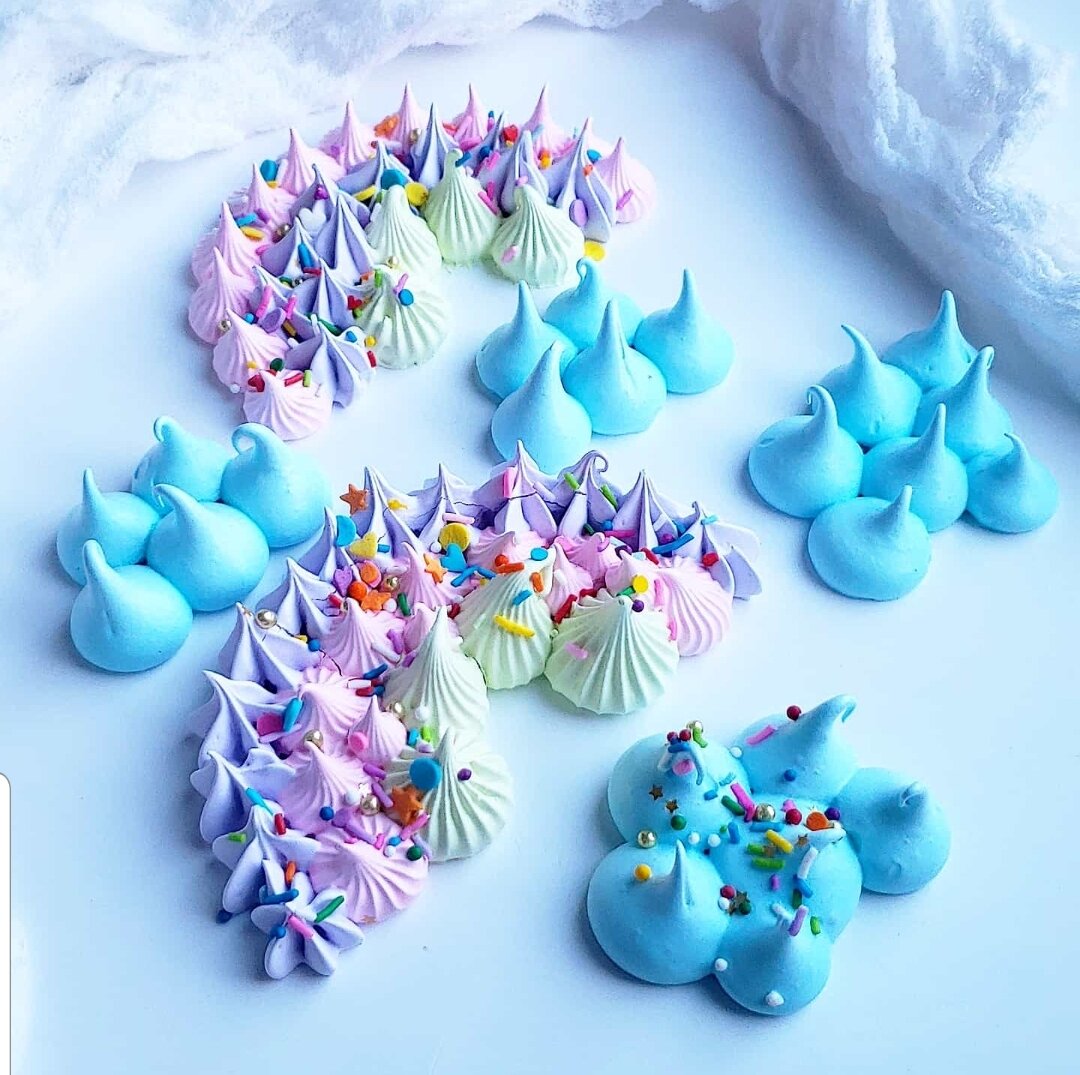
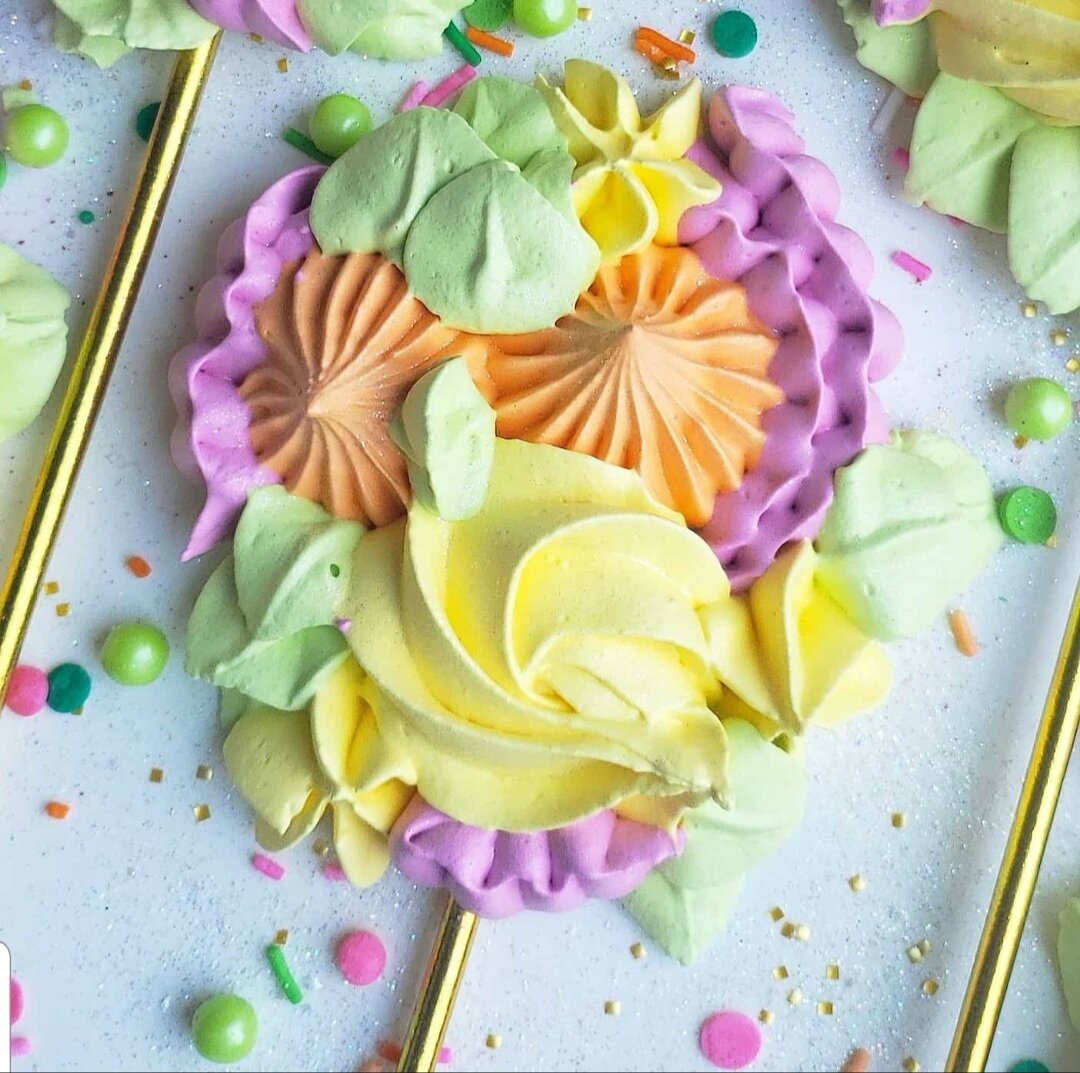
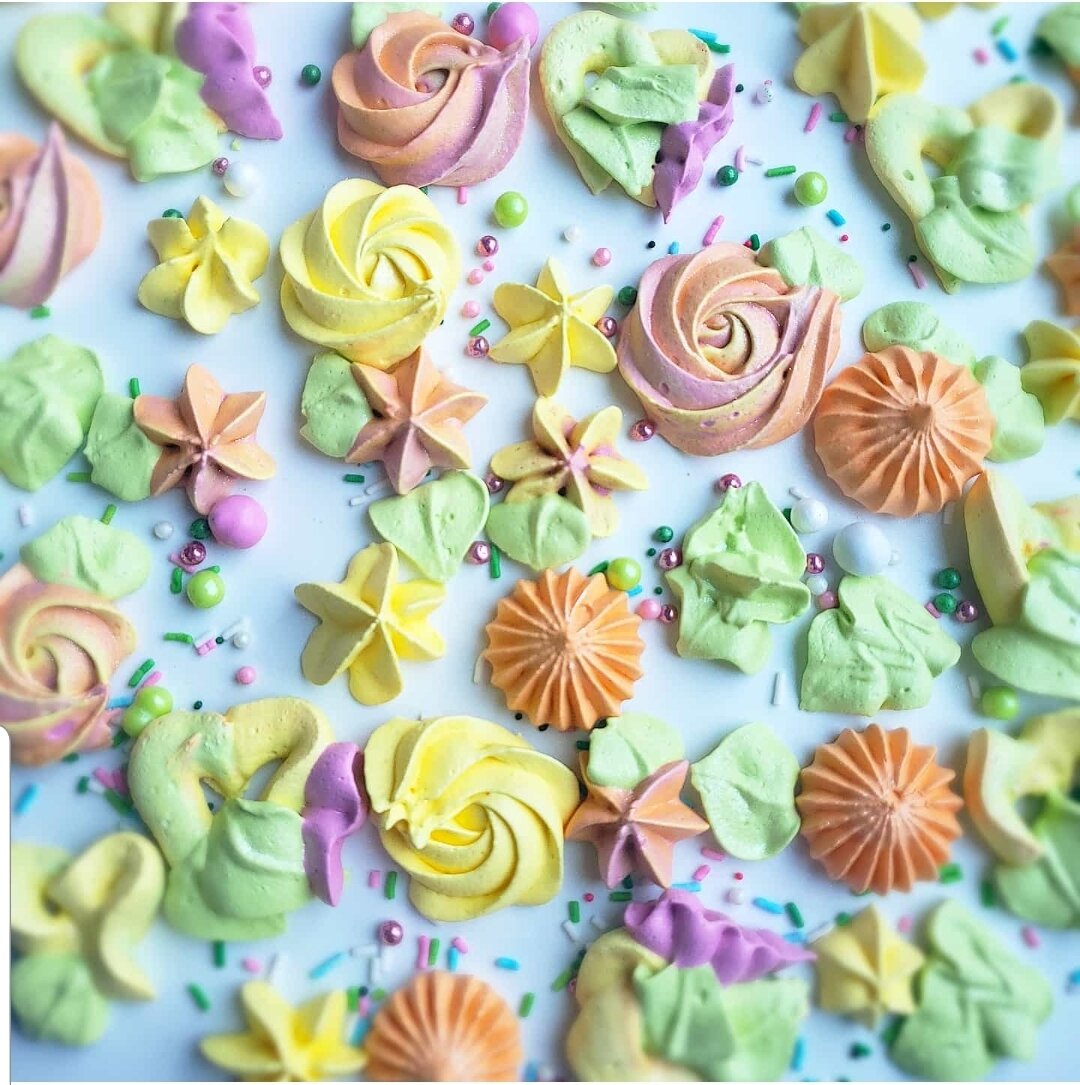
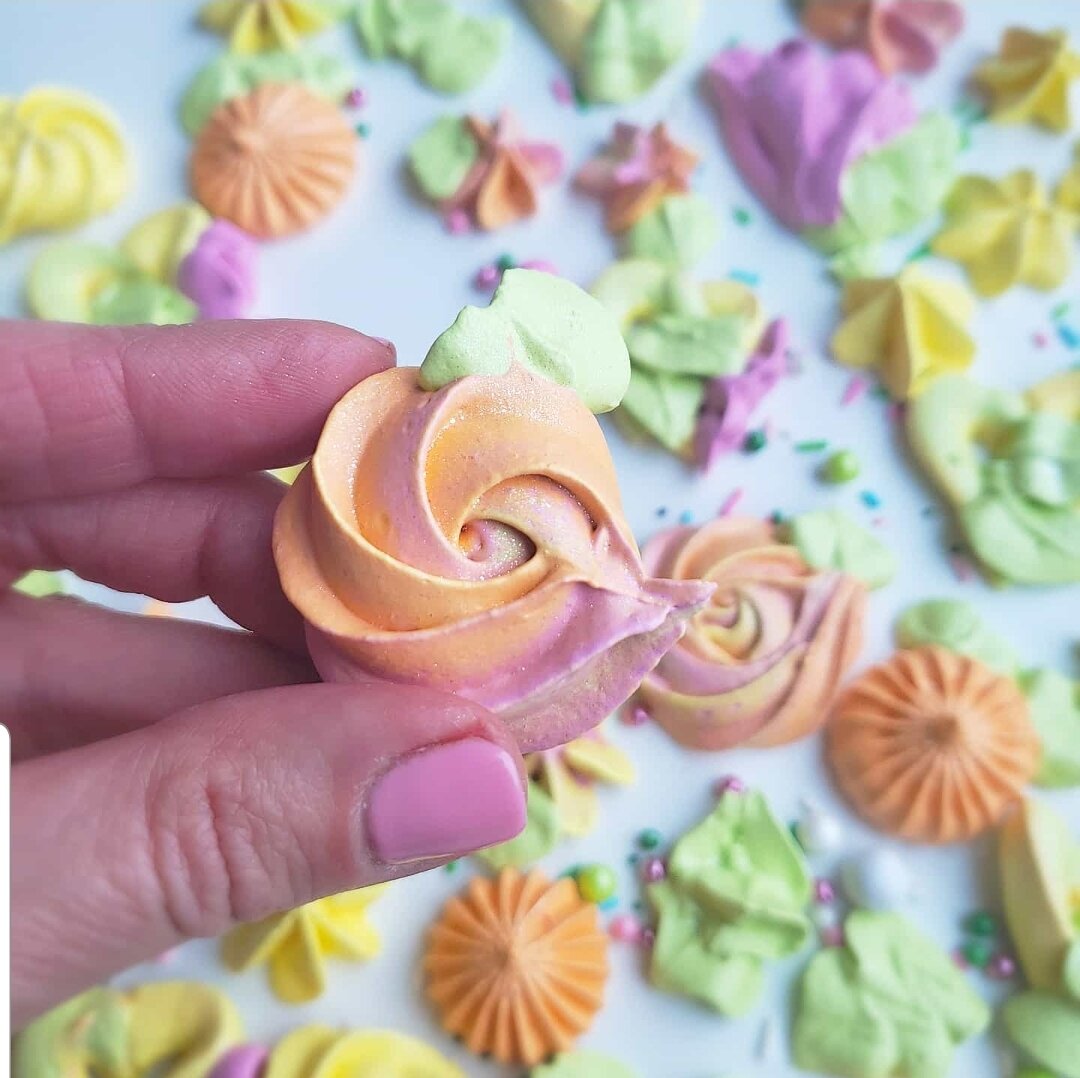
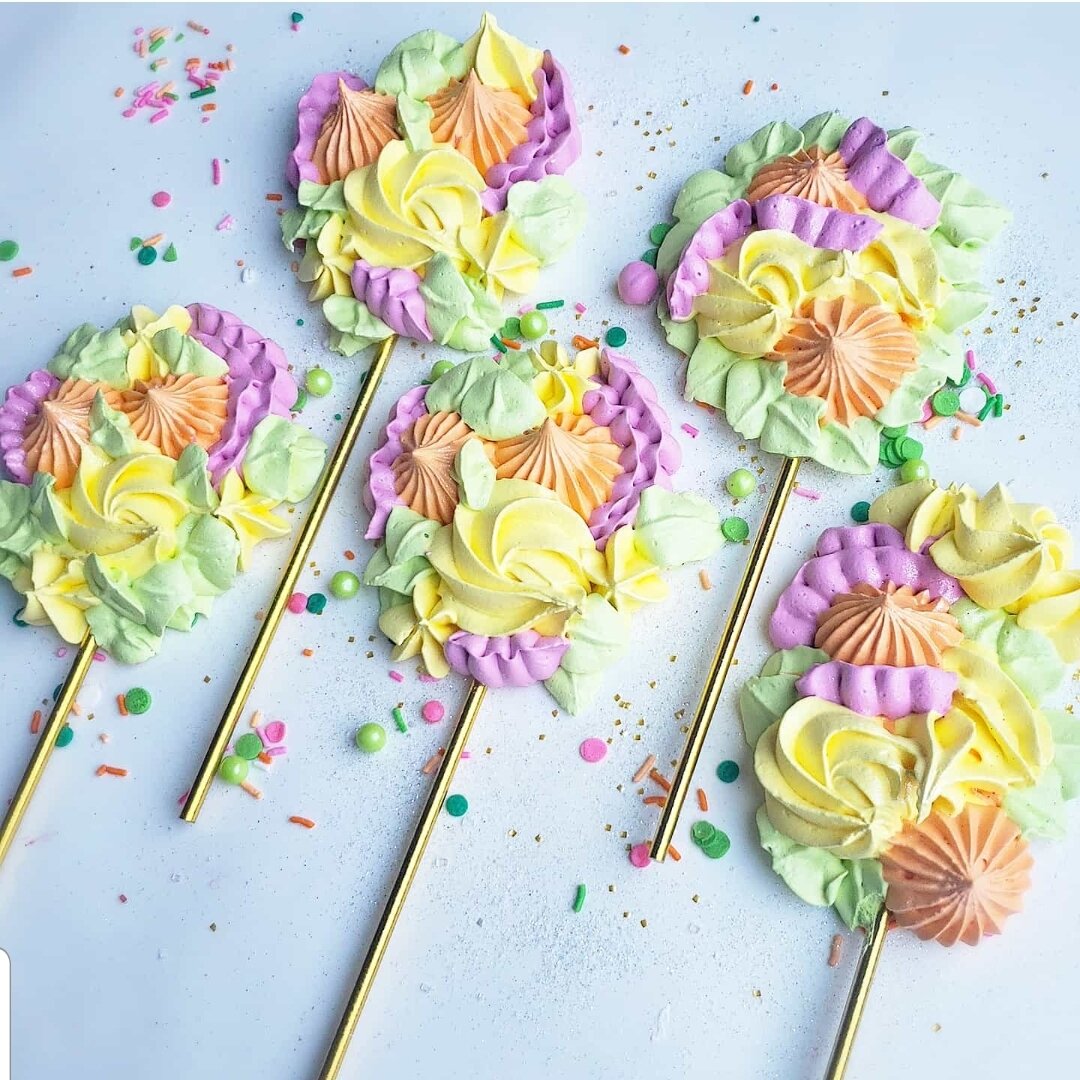
Now - the Colorful, the fun part – coloring and piping your Meringue’s! I love to use Wilton Color Right System Gels, as well as Americolor and Chefmaster Gels to color my meringue. Just separate your freshly made Meringue into as many bowls as colors you want, and add anywhere from 1 to 3 or more drops of your desired gel colors and mix well until gel is fully incorporated into the meringue. You can use all sorts of piping tips, some of my favorites are by Wilton: 1M, 2D, 1A, 8B, 70, small open star tips, leaf tips – the possibilities are endless!
Place all your white, or colored meringue into your piping bags fitted with desired piping tips, and go to town with piping or dropping flowers, “kisses” (1A piping tip by Wilton is best for it!), leaves, swirls – have fun with it! I prefer to use Silicone Baking Mats for baking my meringue, but you can also use parchment paper. * A little tip to prevent your parchment paper from sliding on your baking tray when you pipe meringue – put a little drop or swipe of your meringue onto the baking tray under the parchment paper.
Now, here you have an option: some people, like my hubby, loves crispy on the outside and chewy inside meringue – for him we will bake our meringue on 200 F for 40 minutes for small flowers kisses, leaves) or for 60 minutes for medium and large size meringue. If you are like me and love crunchy, not chewy at all, meringue – we will bake on 180 F for 2.30-3 hours depending on the size of your meringue. Your Meringues are ready when you slightly push on them and they do not move. If they are still wiggly, moving – they need to be baked for longer.
Allow your meringue to fully cool off before removing them from your silicone mats or parchment paper. They can be eaten immediately… or stored in airtight container in dark, dry, cool place for up to a month! (I keep mine is tightly closing container inside of my pantry, in furthest corner, so kids cannot find them…) You may see on my Isragram page, @sashacakeschicago, that I love decorating my cakes with Meringue – from fully covering the cake, to just few Meringue Kisses here and there for a delicious and adorable part of the design.
Hope you find this recipe helpful, easy to follow, and feel free to drop me a comment, questions – any of your feedback would be amazing to get! Tag me on your Instagram posts once you try this recipe too – I’d love to see your results, celebrate with you and share your work in my stories!
Xo, Sasha